Grand Theft Auto 4: Project RevIVe Based Build — Fan-Made

The assembly was created with the aim of improving the atmosphere and visual part of Grand Theft Auto 4, without moving away from the original, with an emphasis on performance. The modifications included in its composition do not violate the lore and game balance. Accordingly, mods that add licensed car models and replace in-game brand ads with real ones will not be here.
The basis of the assembly is a large-scale remaster modification Project RevIVe, which has been in development for more than five years. This project really noticeably transforms the game. But one mod is not enough to modernize the good old GTA 4. The assembly includes various modifications that improve the visual component in one way or another, as well as several script modifications.
Tools
Mods are selected and tested on the basis of Grand Theft Auto 4 v1.0.7.0, since this version of the game works stably and is compatible with most modifications. The current Steam version of GTA 4 can be rolled back using GTAIVDowngrader.
For some script mods to work, you need to install xliveless. To do this, copy the xlive.dll file to the root directory with the game (where GTAIV.exe is located).
We also recommend creating commandline.txt in the root directory of the game. Open the file with a text editor and paste these parameters, adjusting for resolution (if necessary):
- -fullscreen
- -height 1080
- -width 1920
- -norestrictions
- -nomemrestrict
- -percentvidmem 100
- -forcehighqualitymirrors
- -noswapdelay
- -notimefix
To install modifications and make them work, you will need: OpenIV 4.1 Offline game archive editor and HazardX's .net scripthook v1.7.1.4 BETA script engine.
Environment
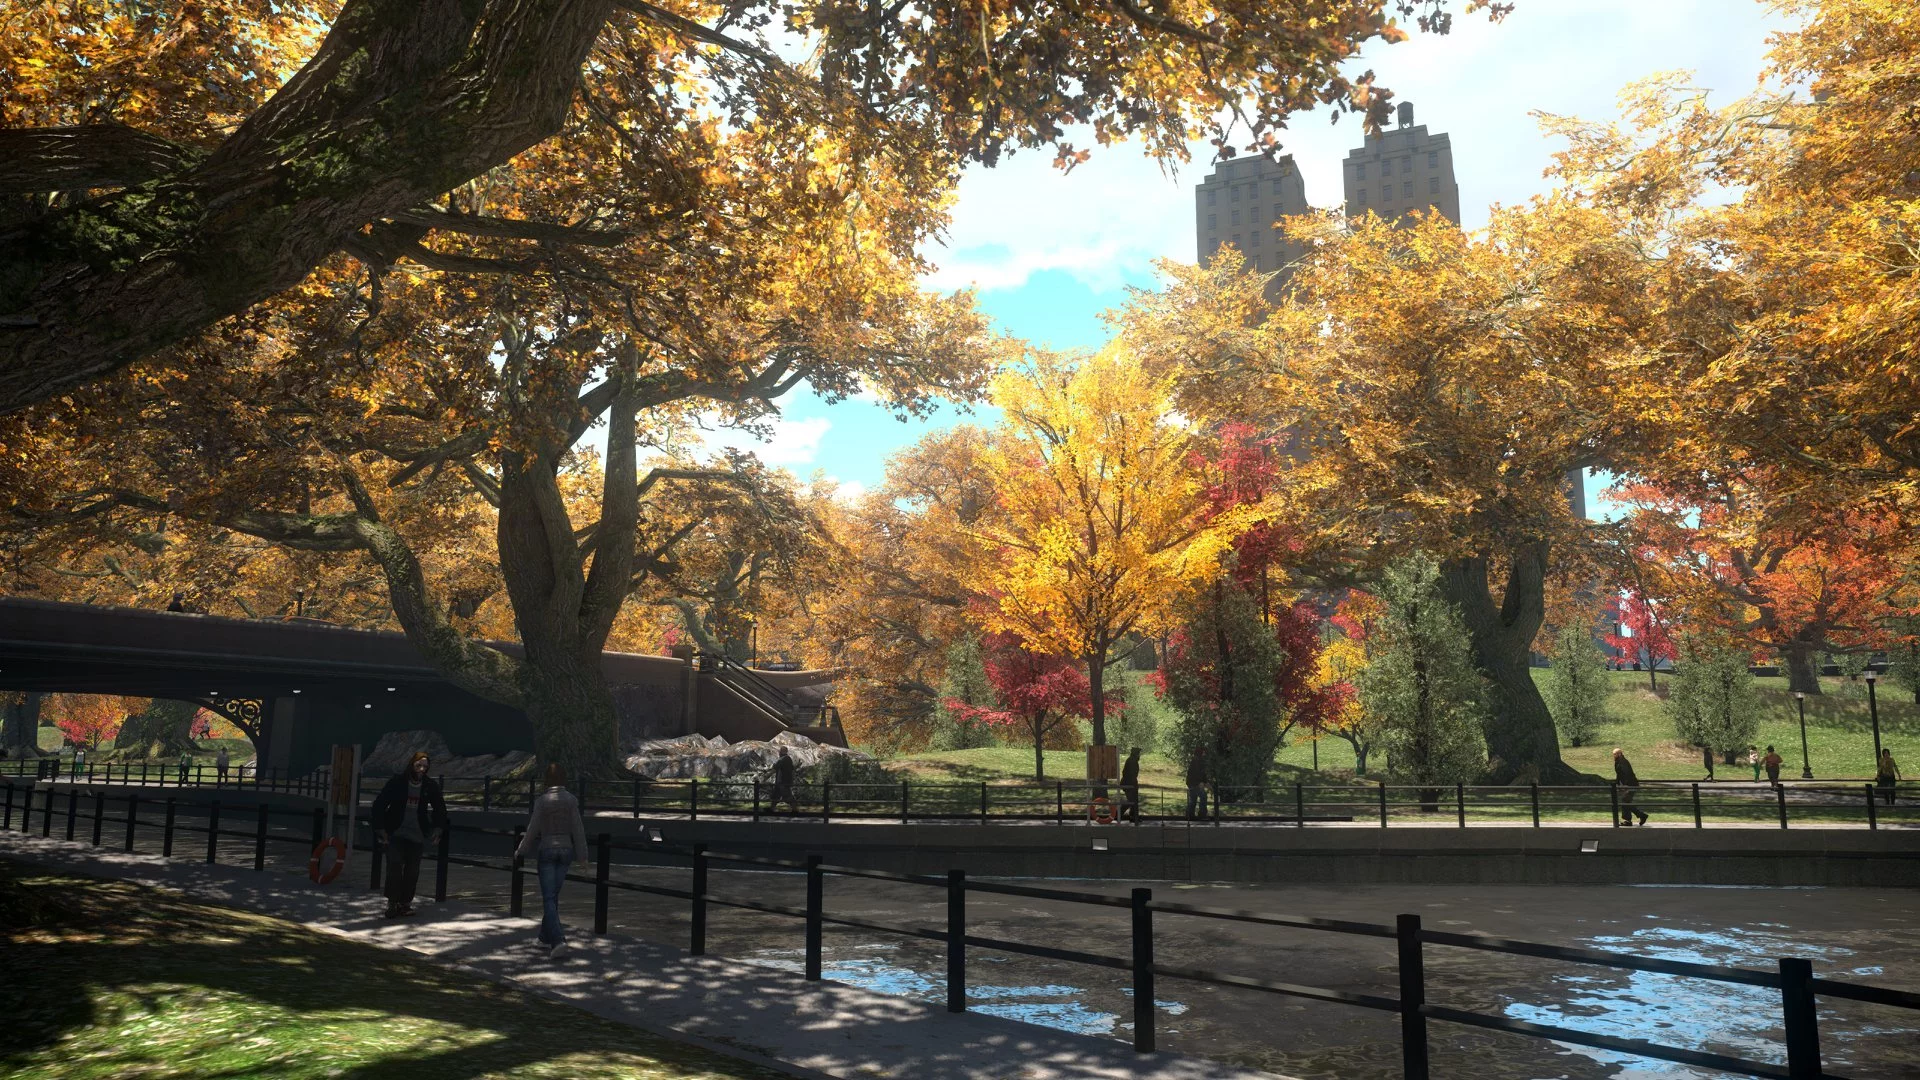
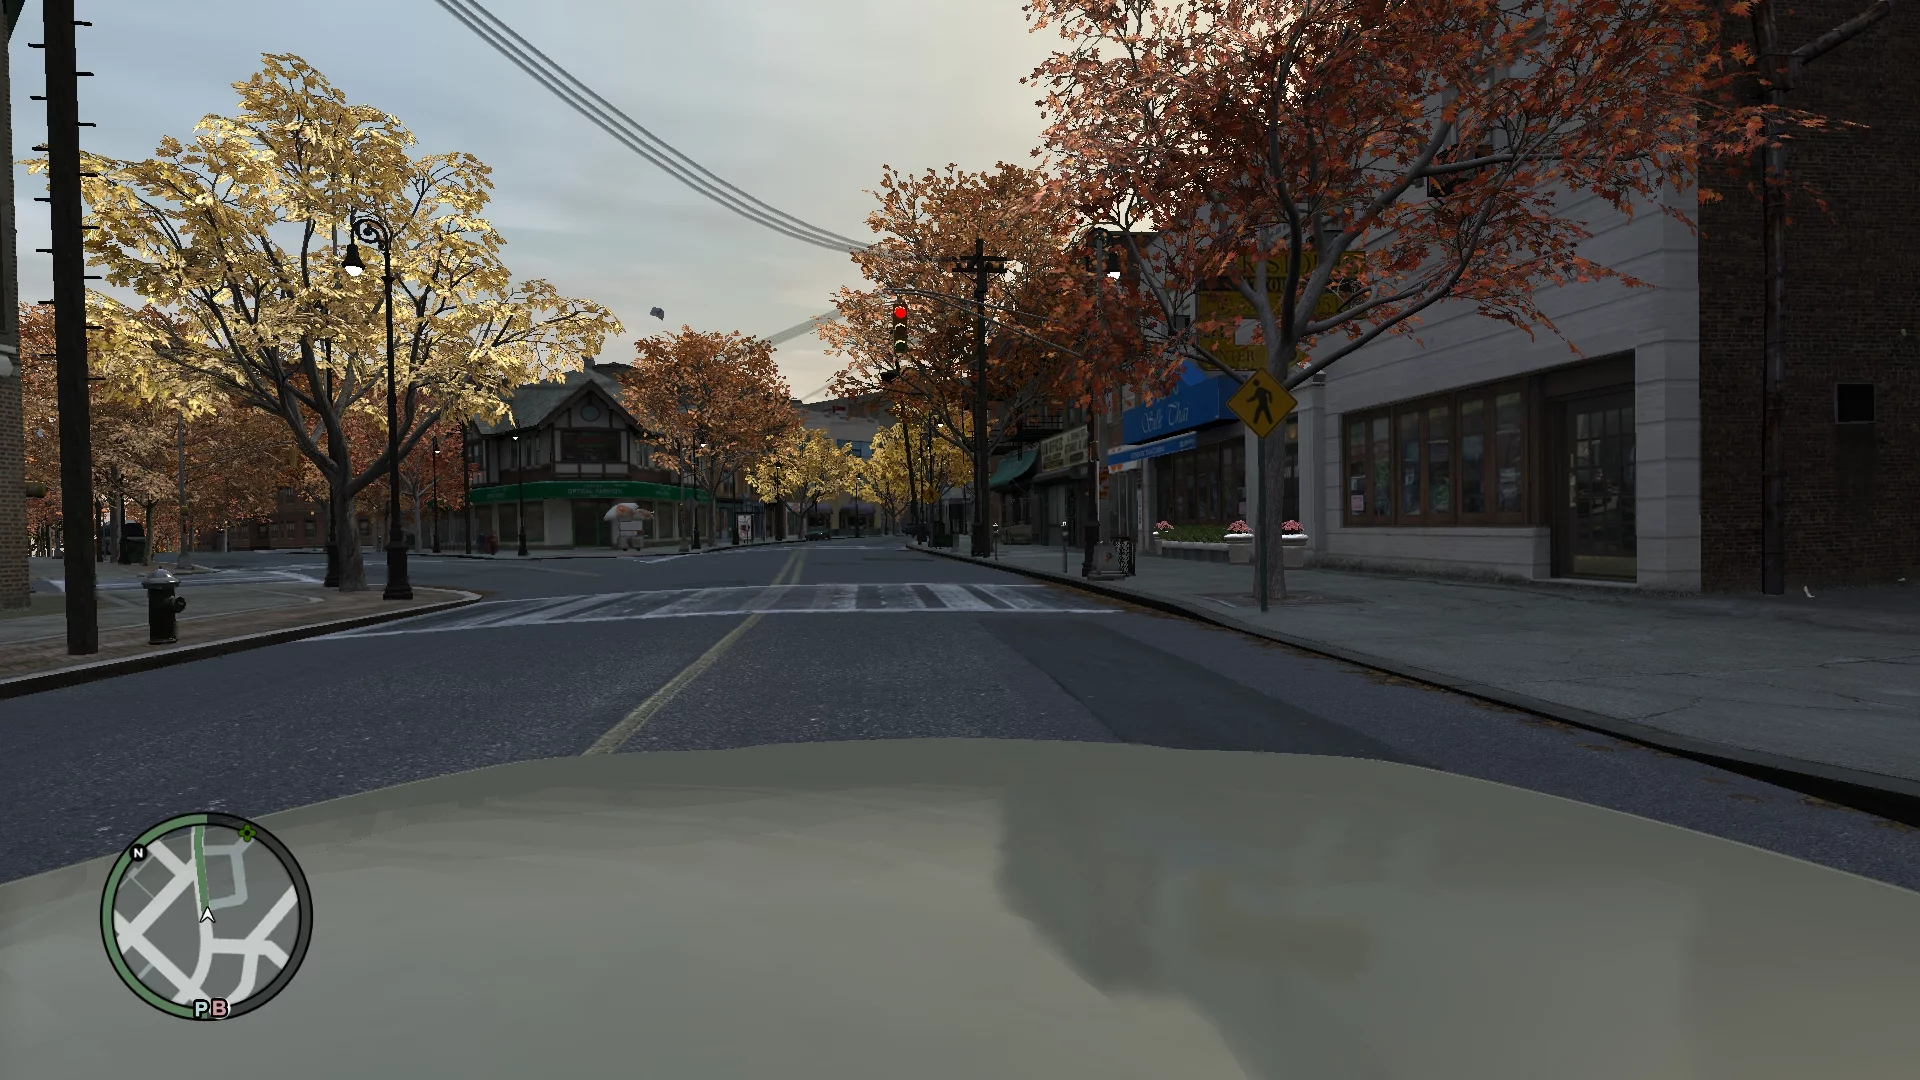
Project RevIVe — The author of the mod BisonSales set a goal to modernize the graphic component of Grand Theft Auto 4 and at the same time improve the game's performance. The mod contains new shaders, textures and, most importantly, new high-quality tree models. Namely models, and not just textures, as in all other mods.
Installing Project RevIVe is extremely simple:
1. Unzip the pc folder from the archive into the root game folder and confirm the replacement. Mod files replace standard game files in most cases. Always agree to the replacement. And to avoid having to reinstall the game in case of an error, we recommend making backups of the original files.
2. Open the common directory (copy for 1070-1080) from the archive and place the shaders folder in the GTAIV\common.
HD Roads by DKT70 Final — Realistic asphalt textures.
Installation: open the archive and move the gtxd.img file to GTAIV\pc\data\cdimages.
RealityIV 2.0 — updated time cycle from DKT70. Makes lighting outside the interiors much more realistic. The mod perfectly maintains a balance between graphics and optimization.
Installation:
1. Place both files from the archive, located in the textures folder, in GTAIV\pc\textures.
2. Copy the pc directory from the archive directly to the root folder of the game.
3. Open the common folder in the archive and move the data folder from there to GTAIV\common.
The archive contains a directory shaders, we are not interested in it, since the shaders were previously copied from the Project RevIVe mod.
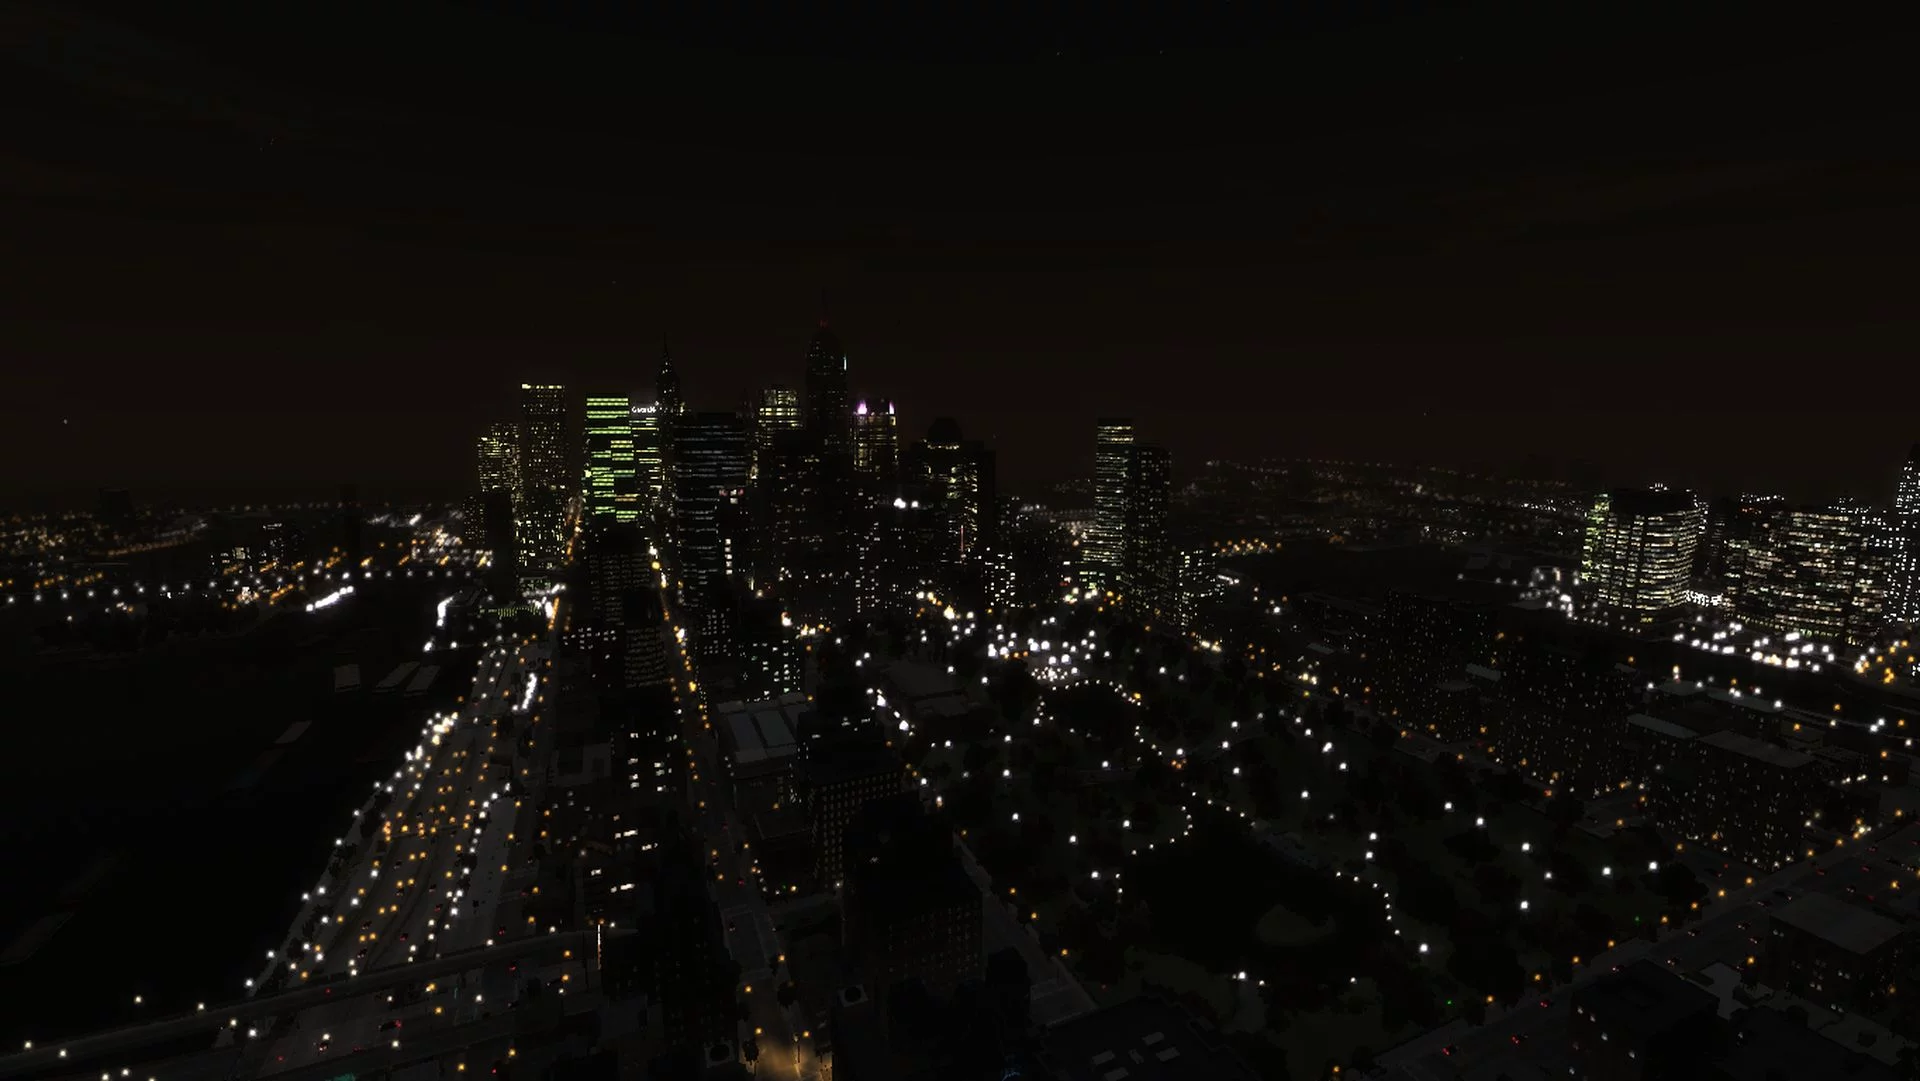
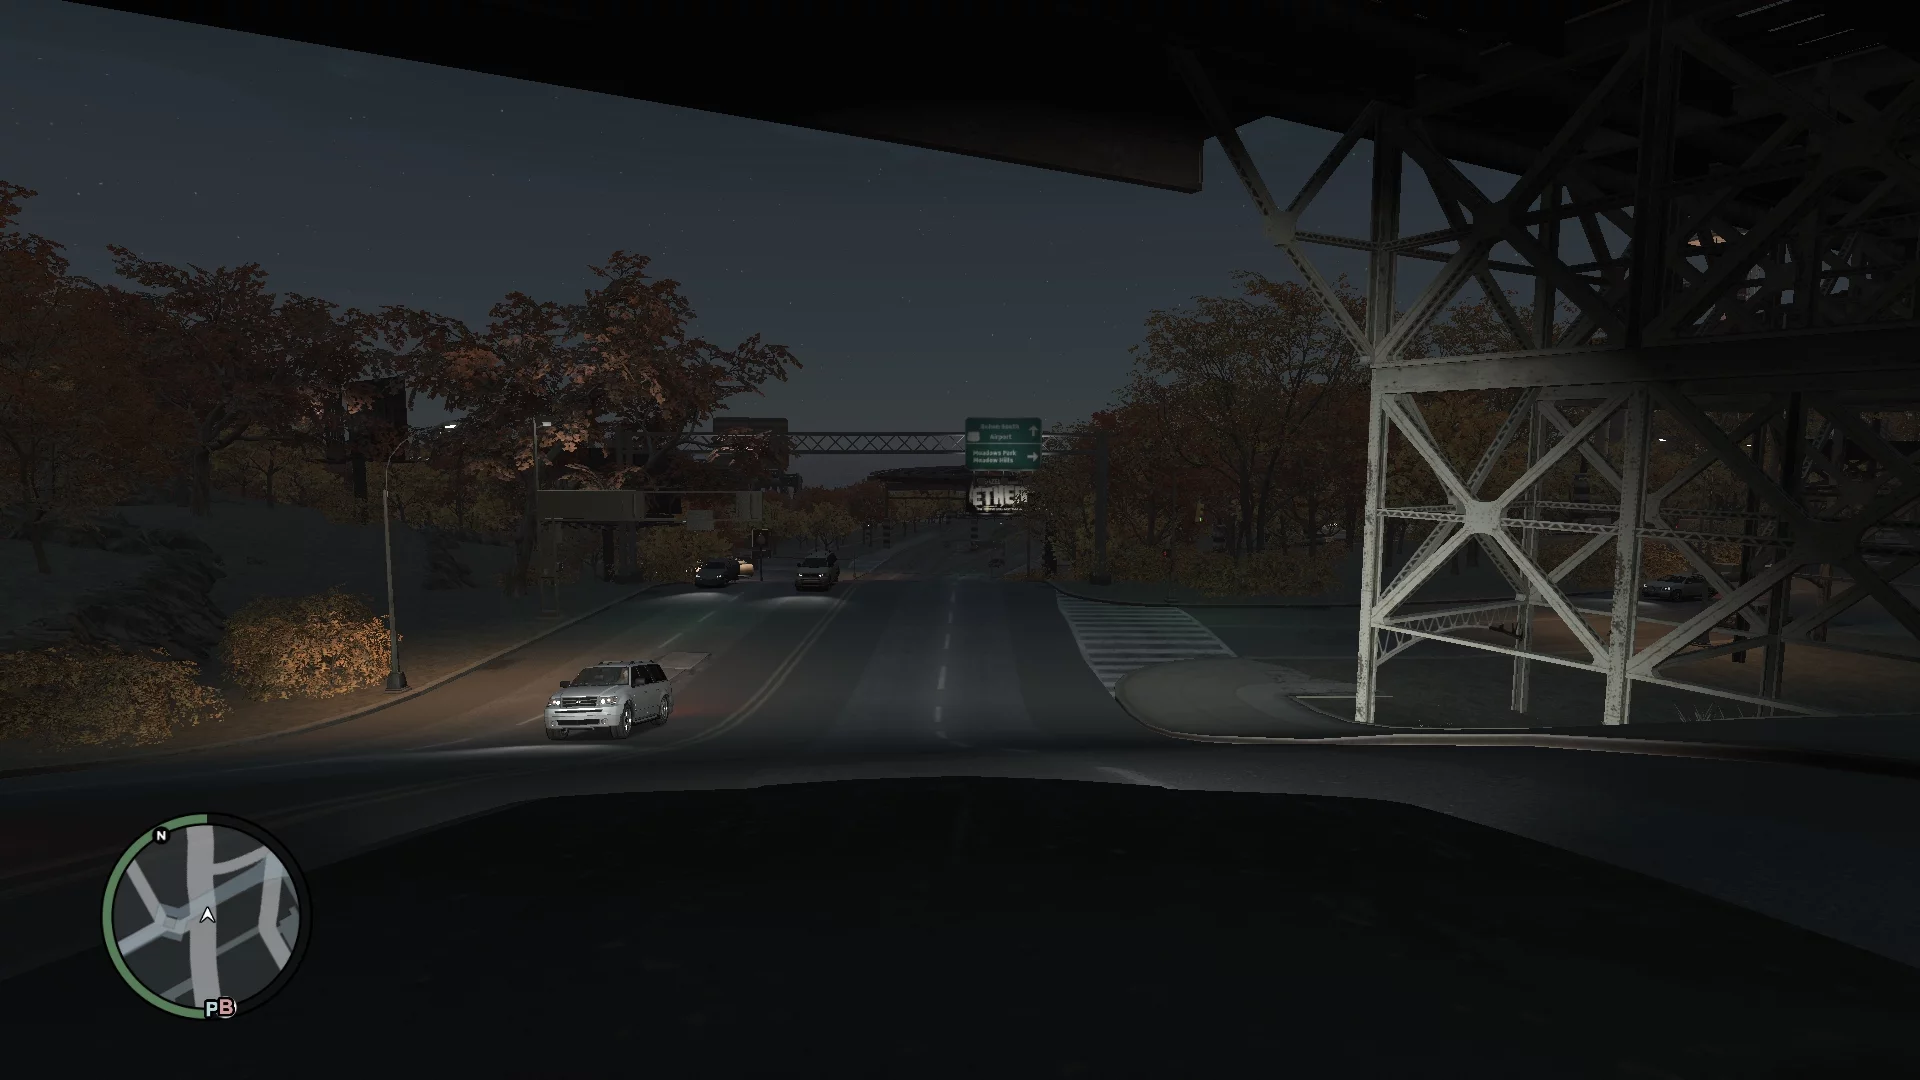
Project 2dfx V4.3 for IV — the author of this fix is the famous mod maker ThirteenAG (known as the creator of the Widescreen fix). A mandatory modification that increases the drawing range of city lights, making Liberty City look realistic at night.
Installation: place all three files from the archive in the root directory of the game.
Characters
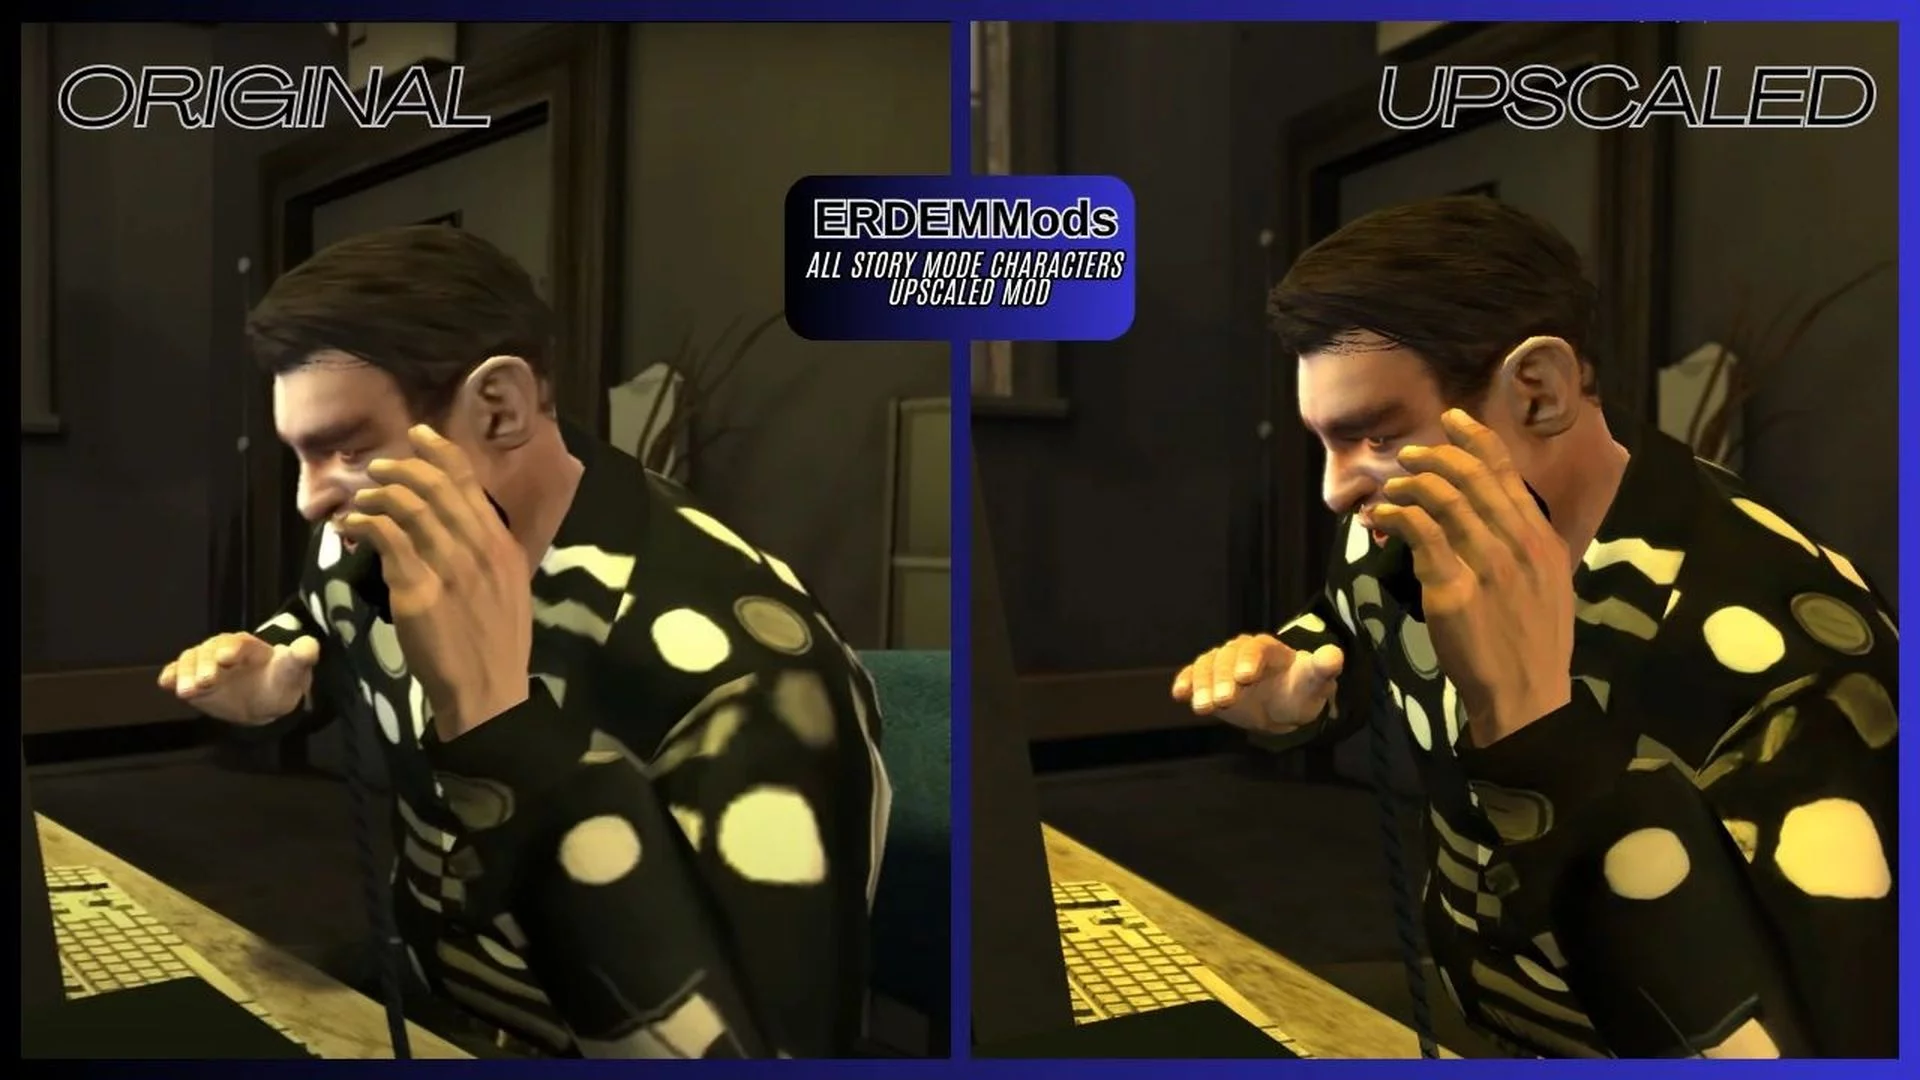
GTA 4 All Story Mode Characters Upscaled — upscales the textures of all story characters (except Niko). The mod is intended for the main GTA 4, since it conflicts with Episodes From Liberty City.
Installation:
1. Place the componentpeds.img file in the GTAIV\pc\models\cdimages.
2. Place the cutsprops.img file in the GTAIV\pc\anim.
Niko Bellic Upscaled Texture Pack — All Clothes and Face Textures — Niko Bellic texture upscaler. Includes all clothes and head textures.
Installation: replace the playerped.rpf file in the GTAIV\pc\models\cdimages.
City traffic

Less Overtaking 0.9 Final — scripts that fix the overly aggressive driving style of NPCs. The mod makes drivers more patient, so now they will not ram you when you are stuck in a traffic jam. Taxi drivers will learn to park more carefully, and cars on bridges will stop constantly changing lanes and cutting you off.
Installation: Drop the LessOvertake.net.dll file from the archive into GTAIV\scripts.
Traffic Flow — thanks to this mod, the traffic in the game will be much more diverse. Plus, the problem with the respawn of identical cars will almost completely disappear.
Installation: Place the TrafficFlow.net.dll and TrafficFlow.ini files into GTAIV\scripts.
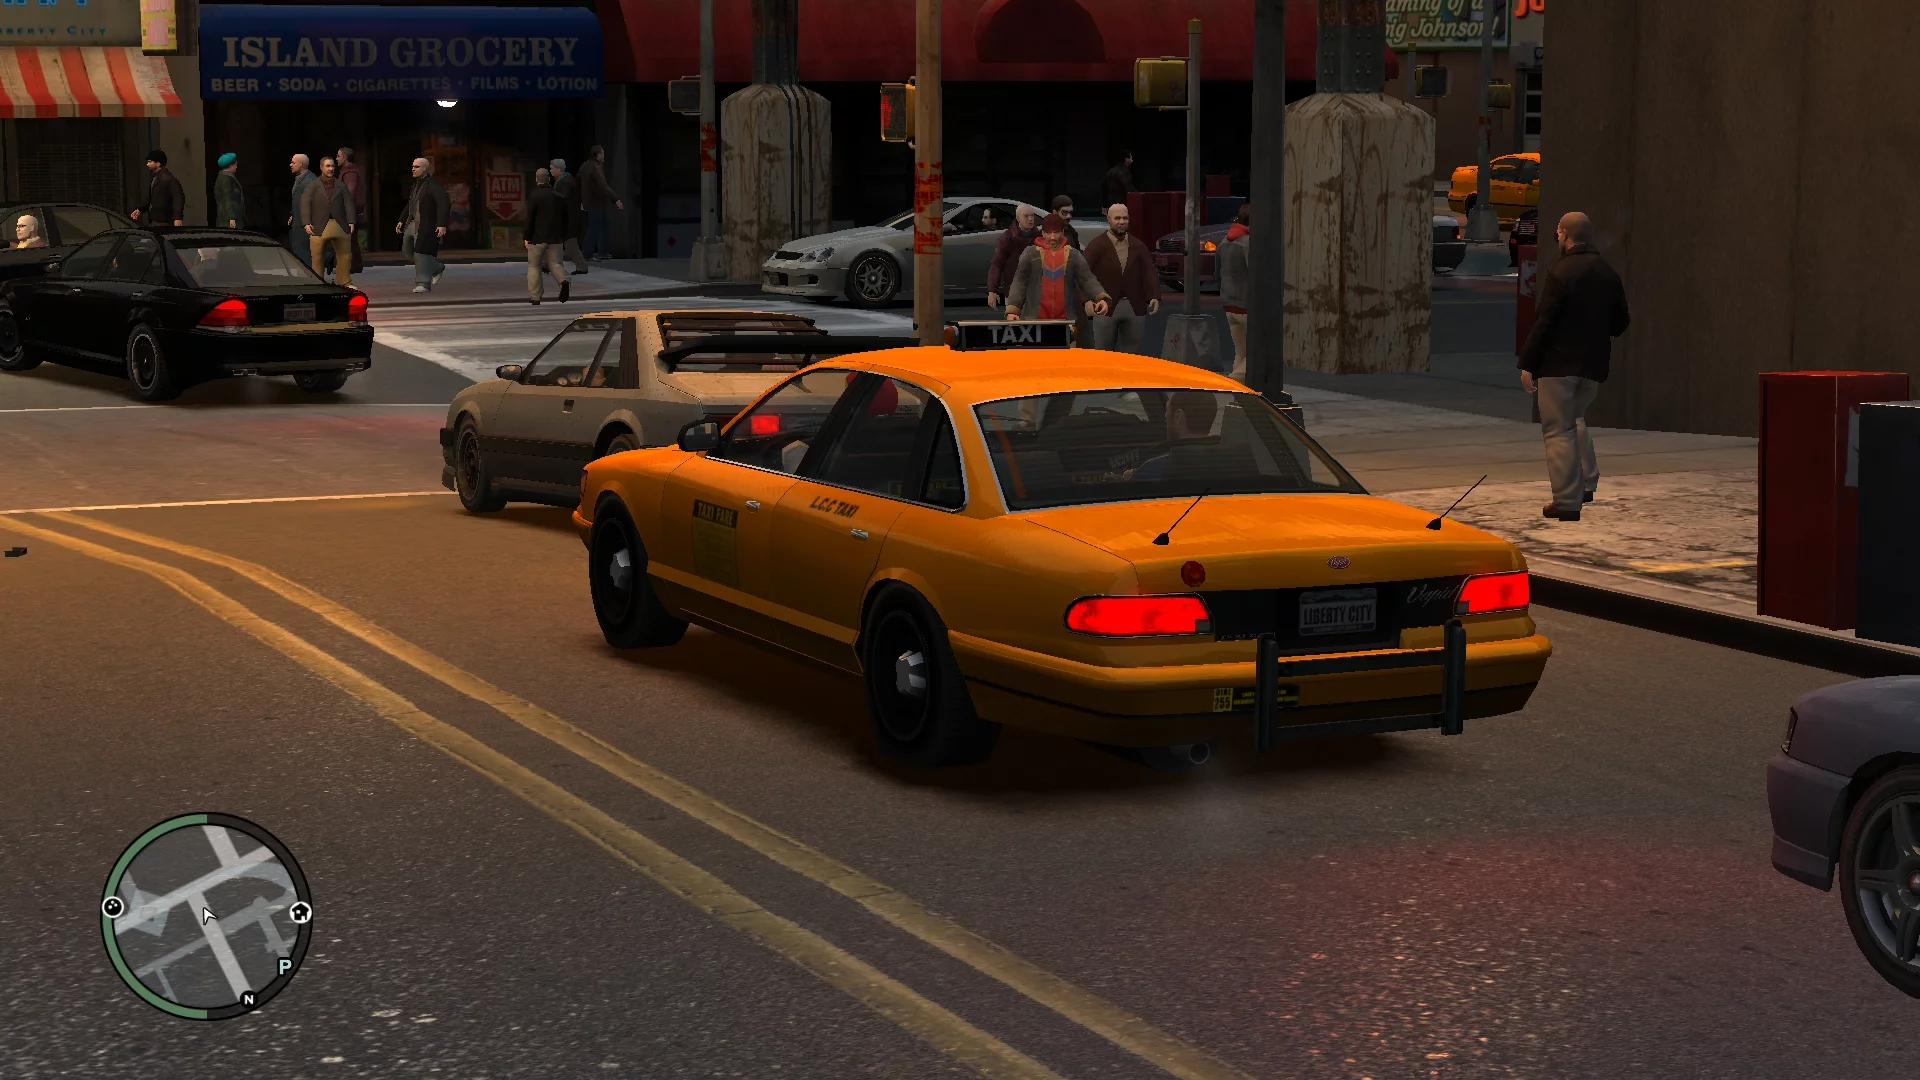
Realism Traffic/Pedestrian — this script significantly enlivens the city streets. The modification adjusts the density of cars and pedestrians depending on the area, time of day and day of the week.
Installation: place the common folder from the archive in the root folder of the game.
Gunplay
Bullet Spread/Recoil Fix 1.1 — mod fixes the problem with the lack of spread when shooting, which arose when porting the game to PC.
Installation: place the shotstuff.asi file in the root directory of the game.
Proper Shotgun Reload (2.1) — When reloading a shotgun, Niko always loads two rounds, regardless of how many shots he has fired. This script mod calculates the number of spent rounds and plays the correct reload animation.
Installation: the ShotgunRel2.1.net.dll file must be thrown into GTAIV\scripts.
HD IV Weapons — the mod replaces the original weapons with high-quality analogues, thus maintaining fidelity to the game's lore. The modification is quite complex, it affects not only the main weapon models. The changes also affected the sound, models of decorative weapons and guns used in cutscenes. Plus, the models of the first aid kit and armor have been updated.
The mod is installed using the above-mentioned OpenIV 4.1 Offline:
- Place the WEAPONS file in GTAIV\pc\audio\Sfx\resident.rpf\RESIDENT.
- Move all three files from the Health and Armor Pickups folder to GTAIV\pc\data\maps\props\lev_des\minigame.img\.
- Decorative weapons from the Prop Weapons directory go to GTAIV\pc\data\maps\props\residential\details.img\.
- Move the main weapon models located in the Weapon models folder to GTAIV\pc\models\cdimages\weapons.img\.
- Place cutscene weapons from the Cutscene Weapons folder in GTAIV\pc\anim\cutsprops.img\.
- Drop two animation files from the corresponding Animations folder into GTAIV\pc\anim\anim.img\.
- Since the goal of the build is to preserve the original balance, the WeaponInfo.xml file does not need to be installed.
Vulkan
DXVK 2.6.2 GPLAsync for GTA IV — Vanilla FF 3.5.1 is the latest and optional mod that switches the game from DirectX9 to the more powerful Vulkan, which in turn will add plus or minus 20 fps and stabilize the frame pacing.
Installation: Place the d3d9.dll and dxvk.conf files in the root folder.
Editing the dxvk.conf file is required in two cases:
1. If your processor is not eight-core. Open the configuration file in a text editor and replace the Threads parameter values with "the number of cores in your processor divided by two" (16 cores = 8).
Example for a quad-core processor:
#dxvk.numAsyncThreads = 2
#dxvk.numCompilerThreads = 2
2. Your monitor does not match the 16:9 aspect ratio. In this case, you need to change the #d3d9.forceAspectRatio parameter.
Example:
#d3d9.forceAspectRatio = 16:10

***
The finished assembly can be called a "light remaster" with improved graphics, optimization and atmosphere of Liberty City. It is easy to create your own assembly on its basis. When using GTA 4 v1.0.8.0, we recommend paying attention to FusionFix. And when downgrading the game to v1.0.4.0, it will be possible to use iCEnhancer 4.0.