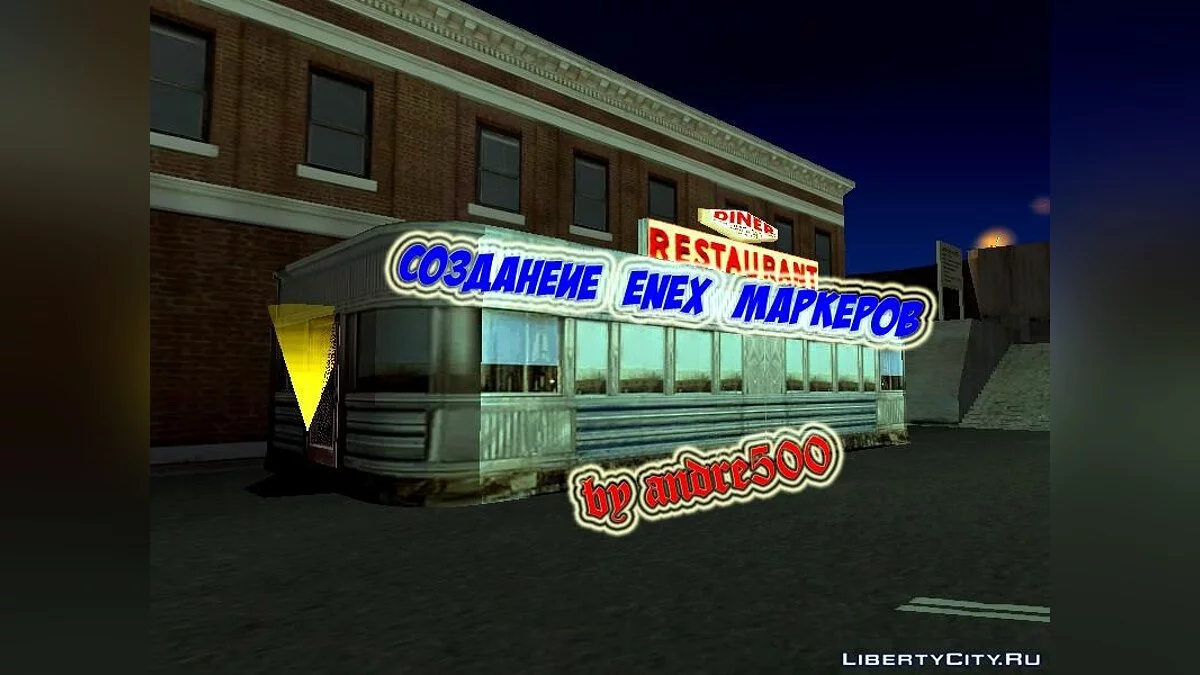
Tutorial on creating enex markers - Part 1


-
depositfiles.comDownload
Hello to all! In this tutorial I will explain to you how enex markers are created. ENEX translates as enter (input) and exit (exit). Of course, you can also make regular scripted markers, but they are saved in the game's memory (after deleting the script, the marker remains), and it's too easy to create scripted markers.
The lesson describes everything to the smallest detail. If you have questions, ask them in a personal.
Thank you for your attention!
Привет всем! В этом уроке я объясню Вам, как создаются enex маркеры. ENEX переводится, как enter (вход) и exit (выход). Можно конечно сделать и обычные скриптовые маркеры, но они сохраняются в памяти игры (после удаления скрипта маркер остается), да и слишком уж просто, создавать скриптовые маркеры.
В уроке описано всё до мелочей. Если есть вопросы, задавайте их в личку.
Спасибо за внимание!