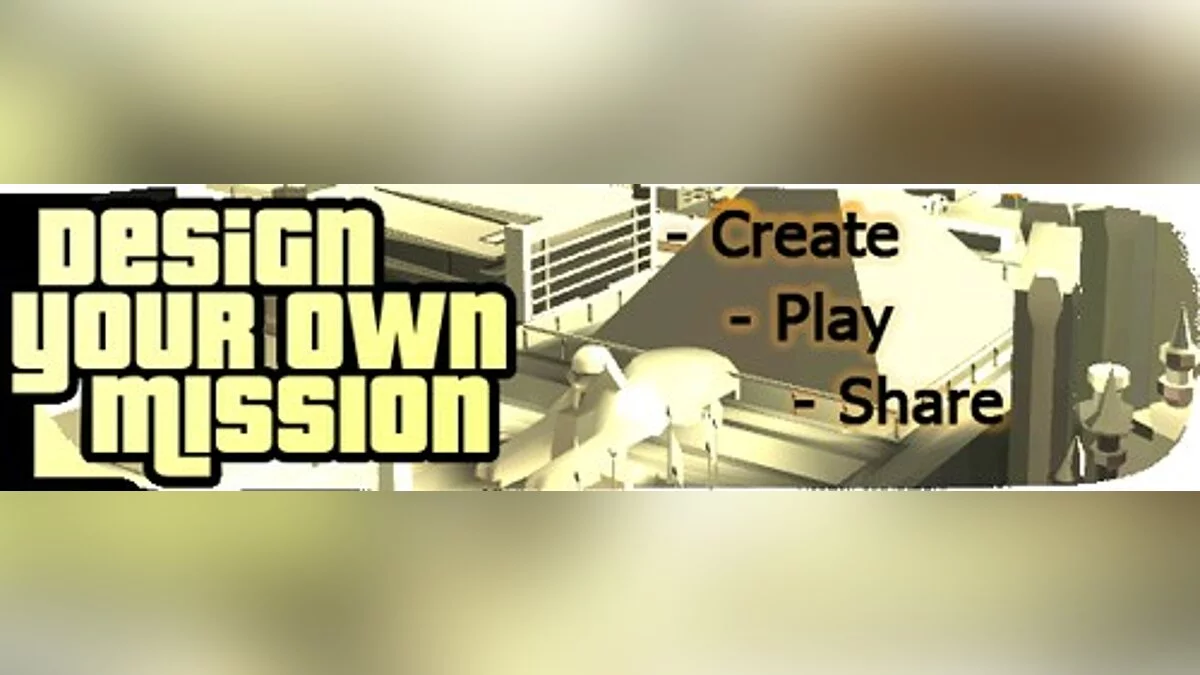
DYOM v6 - beta 2.0


-
depositfiles.comDownload
On December 27, 2010, the latest and freshest version of DYOM v6 was released. It fixed a lot of bugs and added many useful features:
Changes in this version:
A major bug has been fixed. This likely has many unknown and unreplicable crash damages.
Colors in different contexts of objectives must now be specified significantly up, not + ~. This last symbol caused a lot of trouble. You can create it with the shift + 2 keys. There is also a key combination: Ctrl + R + R will work.
When editing objectives, you no longer need to retype all the text.
Finally, a new feature in this version: you can create a storyline!
Now let's move on to the main feature:
Attention! This feature was described not by me, but by Dutchy3010 on
His Website.
Storyline function
In this guide, we attempt to explain the storyline function. The concept is very simple: you can create a storyline with more than 24 missions. You must complete these missions as you did before, using the mission menu. You can also use loaded missions (but you cannot use dyom0.dat files). In this version, only one storyline is possible at a time.
Before using this function
First, you need to create a folder named "DSL" (in uppercase) in the San Andreas user files folder (next to the San Andreas dyomx.dat files and normal save files). After you create the storyline, you need to compromise several files in this folder: of course, mission files, _INTRO.dat, _OUTRO.dat, and _STORY.dat _AUTORUN may be needed (if you selected a vehicle, I will explain this later).
Intro
You can use a mission as an intro. This will start immediately after the storyline begins. You can use it with a cutscene (like CJ arriving in San Andreas), and you can also change only the player, the player you use in the mission. There is only one intro mission; you cannot create more intros. Then you must use "normal" missions for the storyline. If you want to save your mission as an introduction, go to the Storyline Menu > Mission Menu > Save as Mission Intro. You should not use it if you are making it as an introduction. You can load Intro missions with the option "Load Intro missions" in the Storyline Menu > Mission Menu. When you use only the Intro (and no other missions), you can also create a normal mission as you used to.
Missions
After the intro, you can import normal missions. First, you need to save them in the DSL folder. Go to the game and create or load missions. Save it by selecting "Save missions DSL" in the Storyline Menu > Mission Menu. Give it a name, for example, mission1. Then create or load another mission and name it (mission2). They will appear in the DSL traffic overload, especially which ones you gave to the game. So in my example, you will find mission1, mission2, and DSL in the folder. Of course, you will be able to load thesis missions.
Next, you need to create mission triggers. Select Storyline Menu > Add Mission Triggers. Then specify the type of mission you gave (i.e., file or folder, in DSL). After selecting the trigger to add missions, you need to choose an icon (and you can still change the exact location of the trigger). Finally, you must qualify when the mission will be available. If you say 0, it will play immediately after the intro mission. When you say one, it will play after you complete the first mission.
A small example:
Mission1 -> 0
Mission2 -> 1
Mission3 -> 0
Mission4 -> 5
Mission5 -> 3
Mission1 can be played after the intro is completed. Mission2 can be played after the player finishes mission1. Mission3 is also available once the intro is completed. Mission4 cannot be replayed until the player finishes mission5. Mission5 can be played when the player has completed three missions.
So missions do not have to be in chronological logic!
Remember that missions that cannot be triggered will not be in the mission list. So if Mission4 is played after mission6 (or mission5 instead), it will not be played at any time, as there is no mission 6. The same will happen if you say that mission4 will be played after mission4. If all other missions are completed, it will go to Outro, as if mission4 has not been replayed yet (it is impossible to play it).
You can delete or edit mission triggers. When deleting a mission trigger, the other numbers of the best intentions triggers will also change. When this is not what you want, you always edit the triggering missions, so the change you will make will be when the mission is enabled (so the number).
Outro
Outro works just like the intro. The only difference is that it will appear when there are no more saturated missions. After the credits end, you will return to the designer.
Exit storyline
You can exit the storyline by pressing Y and N at the same time. However, this only works between missions. It will not work when you are in a mission (or Intro / Outro).
Clear / Test storyline
I think the dissertation function does not require too much explanation. Open Story Missions MEANS that all triggers will be deleted. With the storyline functional test, you will play your storyline.
Autorun
When selecting auto, the storyline starts to compromise immediately after pressing the "create your own mission" button (New Game). There will be a DSL file in the folder named "_AUTORUN." You can use two ways to disable autorun. First, you can play the main storyline and use the Y / N functions. Then you will return to the designer, where you can disable it in the storyline menu. You can also delete the "_AUTORUN" folder with files from DSL. Thus, autorun is disabled too.
27 Декабря 2010 года вышла самая новая и свежая версия DYOM v6. В нем убрали кучу багов и прибавили множество полезных функций:
Изменения в этой версии:
Большая ошибка была исправлена. Это, вероятно, имеет множество неизвестных и невоспроизводимых аварии ущерба.
Цвета в разных контекстах Цели должны теперь быть указаны значительные вверх, а не + ~. Этот последний символ вызвал много неприятностей. Вы можете создать его сдвиг + 2 ключа. Существует также комбинация клавиш: Ctrl + R + R будет.
При редактировании объективации, вам не нужно перепечатывать весь текст.
Наконец новая функция в этой версии: вы можете сделать сюжет!
Ну а теперь перейдем к самой главной функции:
Внимание! Эту функцию описывал не я, а Dutchy3010 на
Своем Сайте.
Сюжетная линия функция
В этом руководстве мы пытаемся объяснить сюжет функцию. Концепция очень проста: вы можете создать сюжет с более 24 миссий. Эти миссии вы должны сделать, как вы это делали ранее, использование миссии меню. Вы можете также использовать загружен миссий (но вы не можете использовать dyom0.dat файлов). В этой версии есть только один сюжет Возможен в Sametime.
Перед тем, как использовать эту функцию
Во-первых, вы должны сделать папку под названием "DSL" (заглавными буквами) в Сан-Андреас пользовательских файлов папки (рядом с Сан-Андреас dyomx.dat файлы и файлы сохранения нормальной). После того как вы сделали сюжет, вы должны идти на компромисс несколько файлов в этой папке: конечно миссии файлы, _INTRO.dat, _OUTRO.dat, и _STORY.dat _AUTORUN Возможно (если вы выбрали автомобиль, я объясню это позже).
Intro
Вы можете использовать миссию в качестве интро. Это начнется сразу же после начала сюжетной линии. Вы можете использовать это с разрезом сцене (как CJ прибыл в Сан-Андреас), также, что Вы можете изменять только игрок, игрок вы используете в миссии. Существует только один Intro миссии, вы не можете сделать больше интро. Тогда вы должны использовать "нормальный" миссий сюжетная линия. Если вы хотите сохранить Ваша миссия, как введение, перейдите на Сюжетная линия Меню> Миссия Меню> Сохранить как Миссия Intro. Вы не должны использовать, если вы делаете, как введение в. Вы можете загрузить-Intro миссии с опцией "Загружать Intro миссии" в сюжетной линии Меню> Меню Миссия. Когда вы используете только Intro (и никакой другой миссии), так же, что Вы можете лучше сделать нормальный миссия, как Вы использовали слишком.
Миссии
После интро, что Вы можете импортировать нормальных миссий. Сначала вы должны сохранить оказываетесь в папке DSL. К игре и сделать или потому что вы нагрузка миссии. Сохранить его выберите пункт "Сохранить миссии DSL" в сюжетной линии Меню> Меню Миссия. Дайте ему имя, например, mission1. Затем сделайте или загрузить другой миссии и имя (mission2). Там будет появляться, в перегруженности трафика DSL, особенно Какие из них вы дали его игре. Так что в моем примере, вы найдете mission1 mission2 и DSL в папку. Конечно, вы сможете загрузить тезисы миссии.
Далее вы должны сделать миссии триггера. Сюжет выберите Меню> Добавить триггера Миссии. Тогда определенного типа вы дали миссии (то есть, файл или папку, в DSL). После выбора триггера добавить миссии, вам нужно выбрать иконку (и вы-все еще может измениться точное место триггер). Наконец, вы должны квалификации Когда миссия будет доступна. Если вы говорите, 0, она будет немедленно воспроизводиться после введения миссии. Когда вы говорите одно, он будет воспроизводиться после вы прошли первую миссию.
Небольшой пример:
Mission1 -> 0
Mission2 -> 1
Mission3 -> 0
Миссия 4 -> 5
Миссия 5 -> 3
Mission1 можно играть При введении закончена. Mission2 можно играть после игрок завершил mission1. Миссия 3 также доступна с момента введения закончена. Миссия 4 не может быть переиграл До игрок закончил миссию 5. Миссия 5 можно играть Когда игрок прошел миссии три.
Так миссии не должны быть хронологическом логика!
Помните, что какие миссии не могут быть вызваны, не будет в списке миссии. Так что если Mission4 будет воспроизводиться после mission6 (или mission5 вместо него), он не будет воспроизводиться в любой момент, так как нет миссии 6. То же самое произойдет, если Вы говорите, что Will Be mission4 воспроизводиться после mission4. Если все другие миссии будут завершены, он пойдет на Outro, как если бы mission4 не переиграл еще (это невозможно играть в нее).
Вы можете удалить или отредактировать миссии триггеров. При удалении триггера миссии, другое число лучших побуждений триггеры также изменится. Когда это не что вы хотите, вы редактируете всегда вызывает миссии, поэтому изменение, которое Вы будет, когда миссия включен (так номер).
Outro
Outro работает так же, как интро. Лишь разницей, что это будет выглядеть Когда не существует больше насыщенных миссий. После окончания кредитов вы будете ехать обратно на модельера.
Выйти сюжет
Что Вы можете бросить-сюжетная линия, нажав Y и N в Sametime. Однако, это работает только между миссиями. Это не будет работать, когда вы находитесь в миссии (или Intro / Outro).
Очистить / Тест сюжетная линия
Я думаю, диссертаций функции, не требуется слишком каких-либо объяснений. Открытый Сюжет Миссии СРЕДСТВА вот и все триггеры будут удалены. С сюжетом функциональный тест вы будете играть ваш сюжет.
Autorun
При выборе авто, сюжет начинает идти на компромисс Сразу же после нажатия кнопки "создать свой собственный Миссия" (Новая игра). Там будет DSL файл в папку с именем "_AUTORUN. Вы-можно использовать два способа отключения автозапуска. Во-первых, вас можно играть основную сюжетную линию, и использовать Y / N функции. Тогда вы вернетесь к модельер, где положение, что Вы можете отключить его в сюжетной линии меню. Вы также можете удалить "_AUTORUN" папки с файлами с DSL. Таким образом, автозапуск отключен тоже.