How to install texture mods for GTA: San Andreas

When GTA: San Andreas was released, its graphics were magnificent, even despite the fact Rockstar Games was critiqued for the modest looks. Evidently, the game was running on the engine that was previously used in GTA 3, an engine that looks dated after all these years. The variety of texture mods is justified by this fact, the visual part of GTA: San Andreas can be enhanced significantly by installing one or multiple mods from our file archive for free.
How do you install texture mods into the game? The following instruction is universal and applies to all the modifications of this type. If you have difficulties installing a certain mod, you can contact our staff and provide them with the link for the mod.
Texture mod installation for GTA: San Andreas
To install any texture mod from our website, please download and install ModLoader plugin. To do so, copy modloader folder and modloader.asi to GTA: San Andreas installation folder. Create a new folder with any name (e.g. MyNewTextures) in ‘modloader’ folder. Move all the files from the downloaded mod archive to this folder. Done! The textures shall now be applied in the game.
If a mod does not work, please make sure ASI loader is installed.
If a mod is not working, or this instruction was not helpful, you can ask for assistance from our staff, they will be glad to help.
Recommended files
GTA SA Crazy IMG Editor

Russifier Smarter's Localization v2.0
GTA SA 2.00 + ANDROID 11 FIX + FLM 6.0
CLEO 4

First Person View v3.0 (by BoPoH)
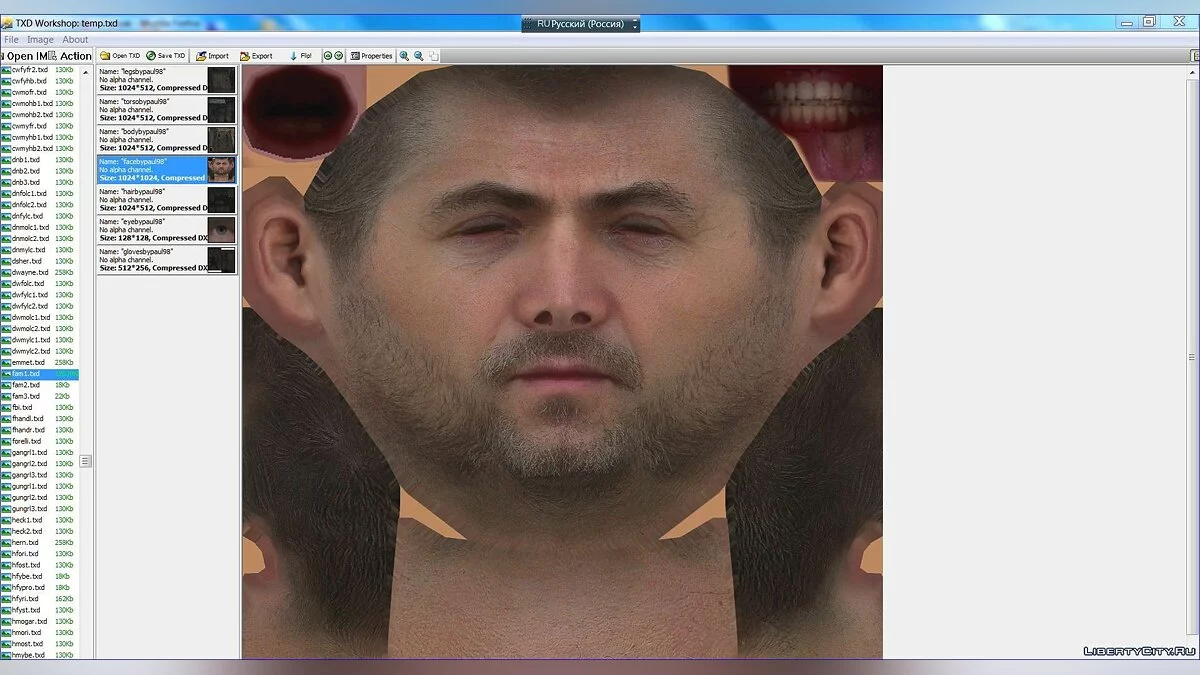
TXD Workshop 5.0
Save gta sa 100%

Gta_sa.exe v 1.0 us
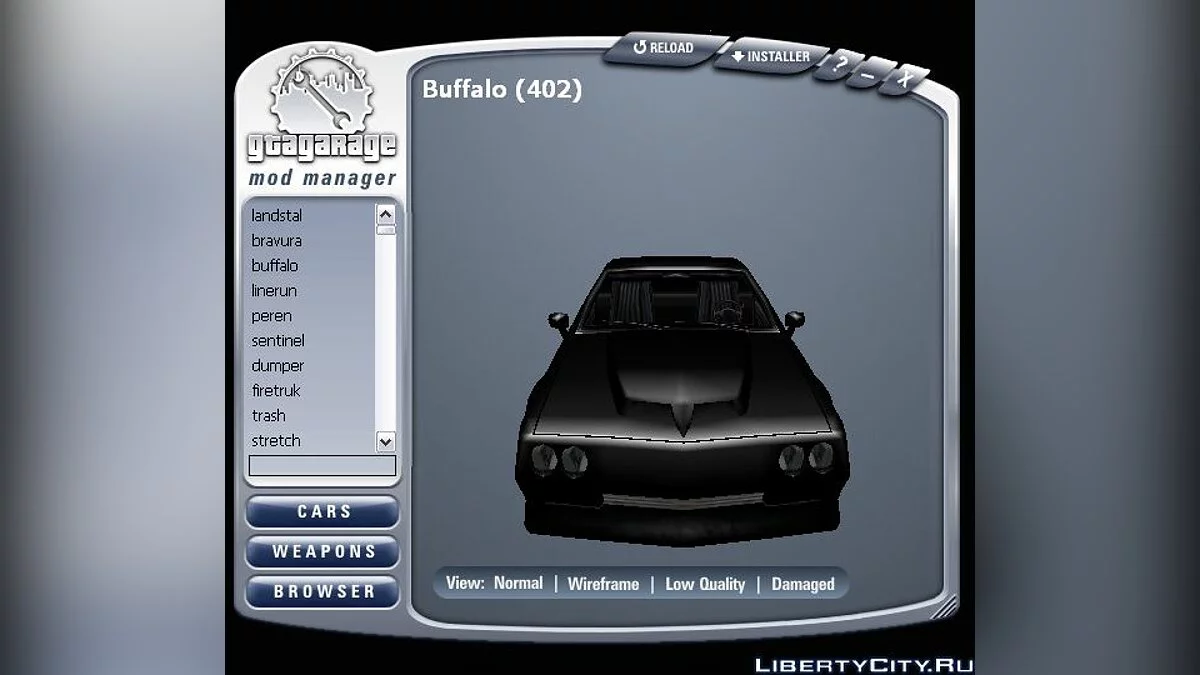
GTA Garage Mod Manager 2.3C

CLEO GTA SA 2.0 without Root rights
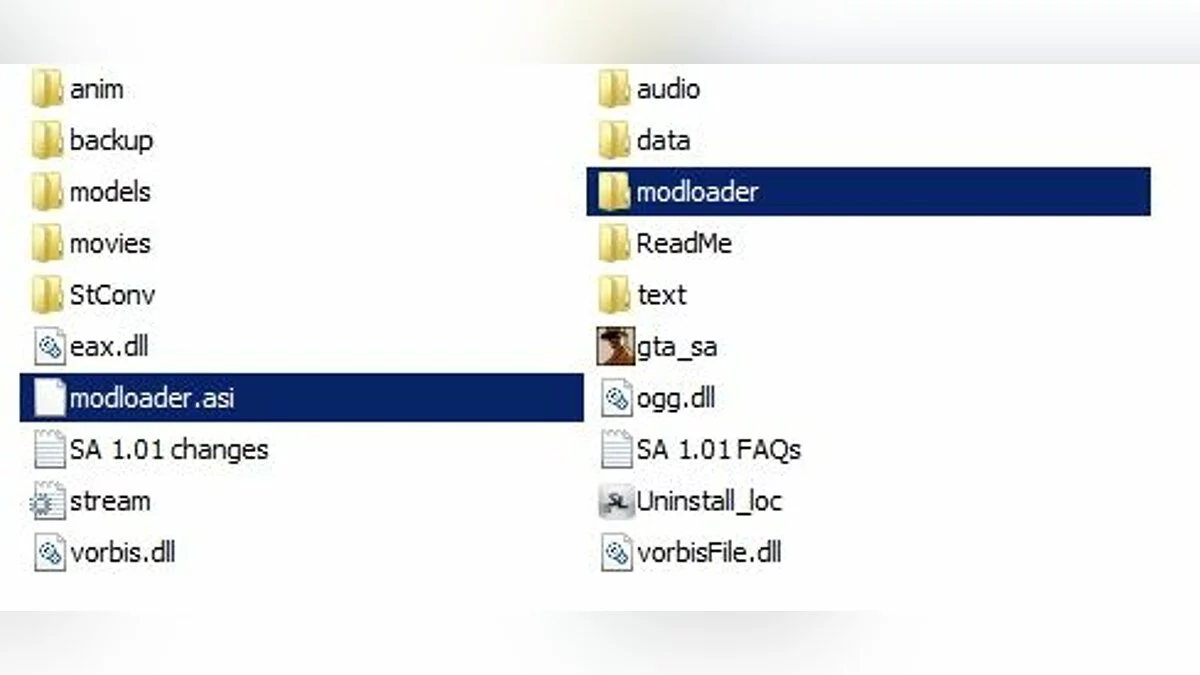
Mod Loader
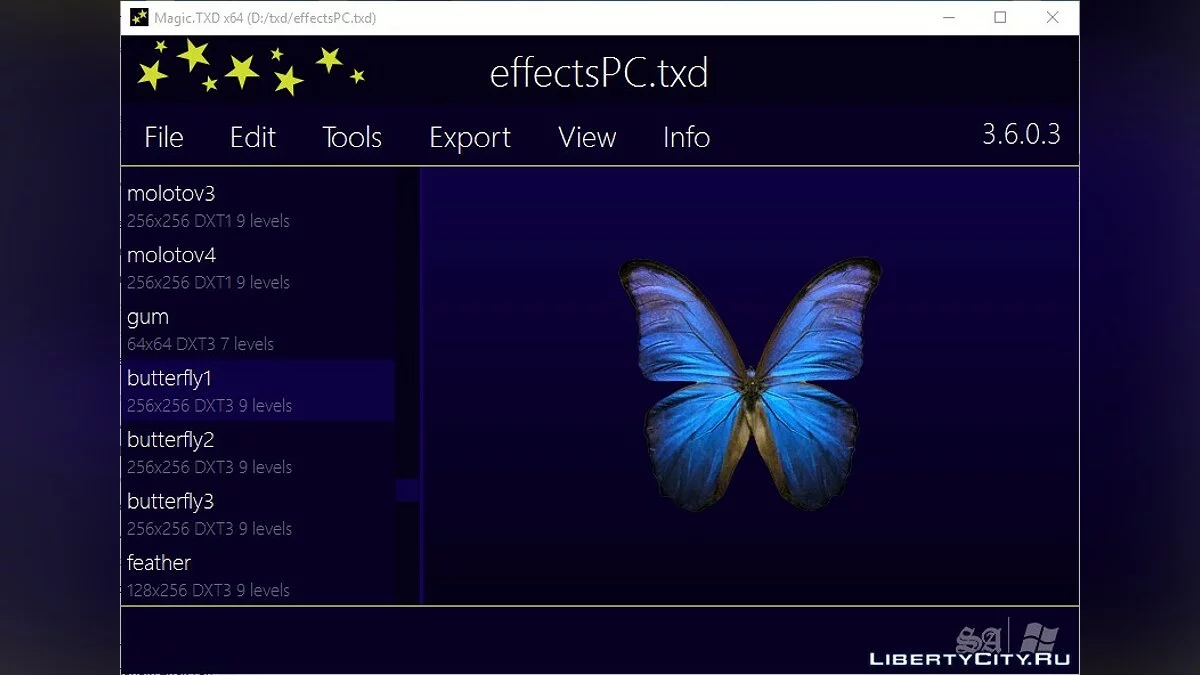
Magic.TXD 1.0 (RenderWare TXD Archive Editor)

CLEO 4 library (4.3.16)
Universal binder 2.3 by Kvass
