How to Install Mods for GTA San Andreas on Android?
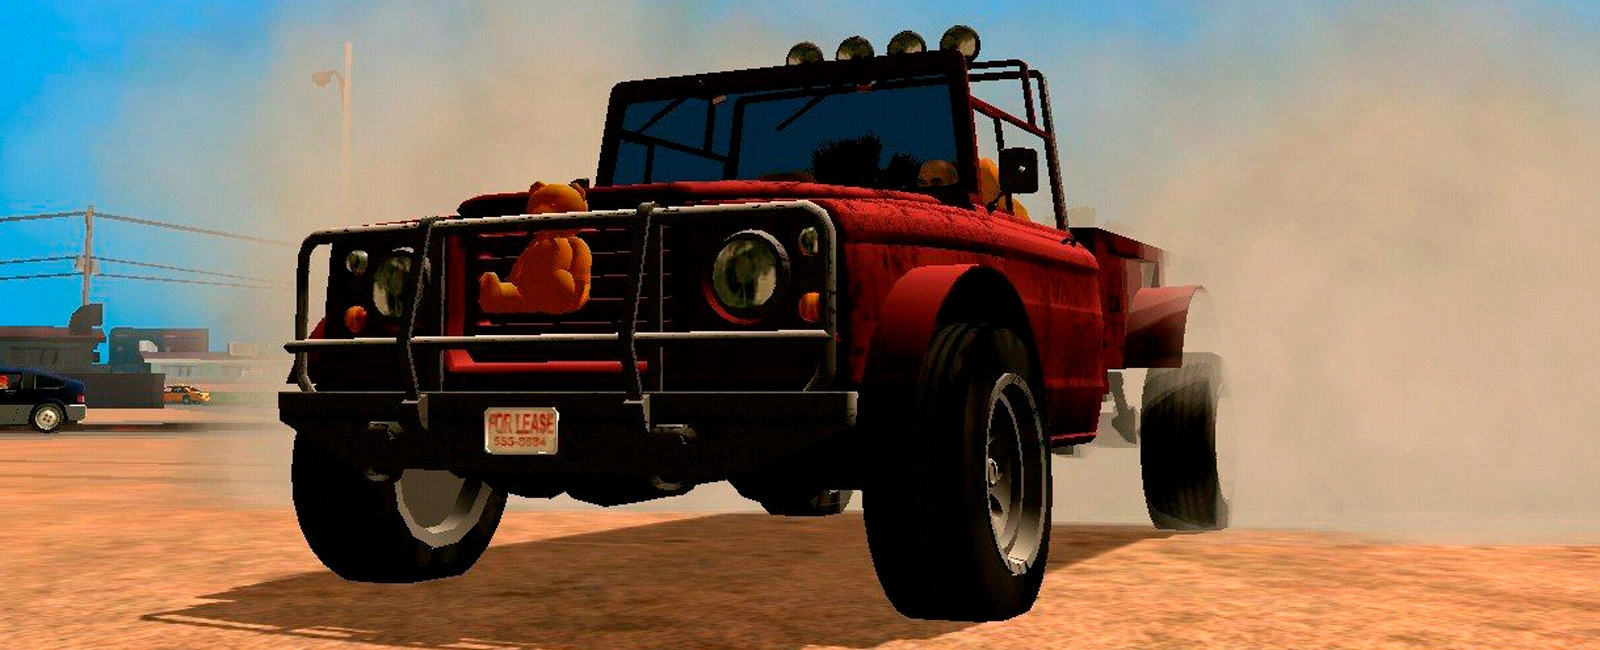
The LibertyCity file archive contains tens of thousands of mods for mobile GTA San Andreas: CLEO scripts without Root rights, new cars, new textures and other mods for mobile GTA SA you can download for free.
How to install mods for GTA SA Mobile? After reading this manual you will easily be able to install new cars, textures, scripts and global mods on your game. And if you still have questions, feel free to ask them in the comments!
Installing CLEO scripts
To install CLEO on android you need to download the apk file of the game with CLEO in it. You can do it on our site.
- Find the game cache (usually it is in Android/obb/com.rockstargames.gtasa);
- Add any symbol to the name of the cache folder. This is necessary so that the cache is not deleted along with the game;
- Rename, for example, to com.rockstargames.gtasa;
- Uninstall the original APK and install the downloaded APK from LibertyCity;
- Return the cache folder to its original name.
Now you can install scripts on your mobile GTA San Andreas. Download any CLEO script you like and move it to Android/data/com.rockstargames.gtasa.
Installing global mods
As a rule, developers of global mods for GTA San Andreas lay out ready-made game files. Creators of such mods can use a particular version of San Andreas. It is worth well read the instructions before installing. Instructions are usually listed in the description of the file or in the Readme file in the archive with the mod.
Installing new cars (dff models)
Many car models have the prefix dff in the description. This means that the mod will leave the standard texture and change only the appearance of the object. In android version of GTA San Andreas they are located in the img archives. To replace the model you should use the program GTA IMG Tool. Open the texdb folder and the gta3.img archive (located in Android/obb/com.rockstargames.gtasa/patch.8.com.rockstargames.gtasa.obb). Using the GTA IMG Tool, select the desired car and replace it with the downloaded model.
Replacing textures
To replace vehicle textures, you need to download the program TXDFucker to your PC. The program is not very stable, you should not transfer a large number of textures to avoid crashes.
Run the program and open any file (for example com.rockstargames.gtasa/files/texdb/gta3/gta3.txt).
Now we see all the textures that we need gta3.img file.
To replace a texture, you need to save its settings, which are in the txt file. In our case, we open the file gta3.txt and look for data on the texture name.
"alum_bat" width=128 height=32 png=93753c40 img=f7b602d5
Copy this data somewhere, because we will need it. Now we need to remove the old texture, to do this, right-click on it and select Delete.
To import a texture, click the Import button. If the texture has an alpha channel, then select With Alpha , and if not, then Without Alpha. My texture has no alpha channel, so I choose Without Alpha.
Now select the texture you prepared in advance and open it (the process takes a long time). Our texture should appear at the very end of the list.
Then open the file gta3.txt looking for the last line, it should be written.
"dubinka" width=256 height=1024
Save the file.
Done! Now the texture is added!
Additional information
In the archive with textures not all textures are different, but they are present in the list, the color of their name in TXDFucker will be gray. And in the txt file is labeled as follows: "texture name for the model" "affiliate=name of the real texture". In this case, you need to replace the texture that is specified in affiliate.
Still have questions about installing mods for mobile GTA SA? Ask them in the comments!
Recommended files
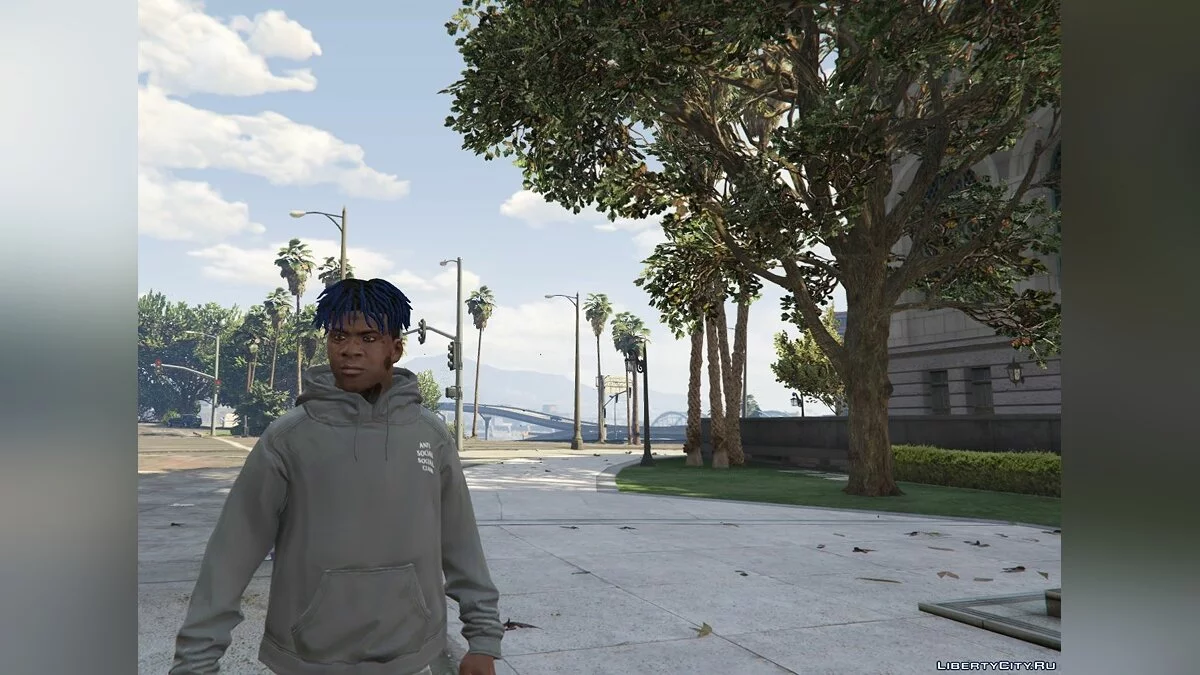
ASSC (Anti Social Social Club) Gray Hoodie White Title 1.0
 Flixx
Flixx
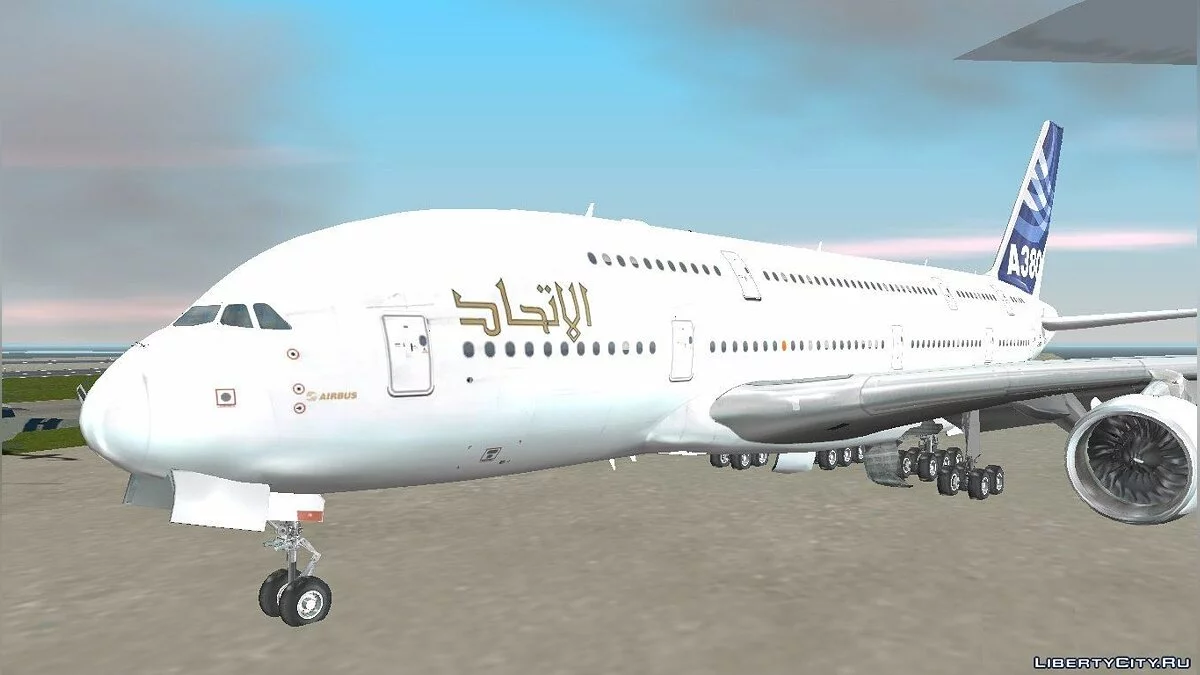
Airbus A380-800 F-WWDD Etihad Titles
 Vadim Panenko
Custom Wasted/Busted Title
GTA 3 titles upscaled
Trailer GTA IV: The Lost and Damned
 CHESTER

SeXxX Cellphone Theme
Video The Lost vs Angels of Death Gameplay
Grand Theft Auto GXT Editor
GTA San Andreas Weapon Editor by Sadler v. 0.14b

Manchester fan jacket
Lamborghini Murciélago LP 670-4 SuperVeloce
Undeniable
Stroboscopes
Boat shop at GTA San Andreas
