NextVision | Settings for ReShade
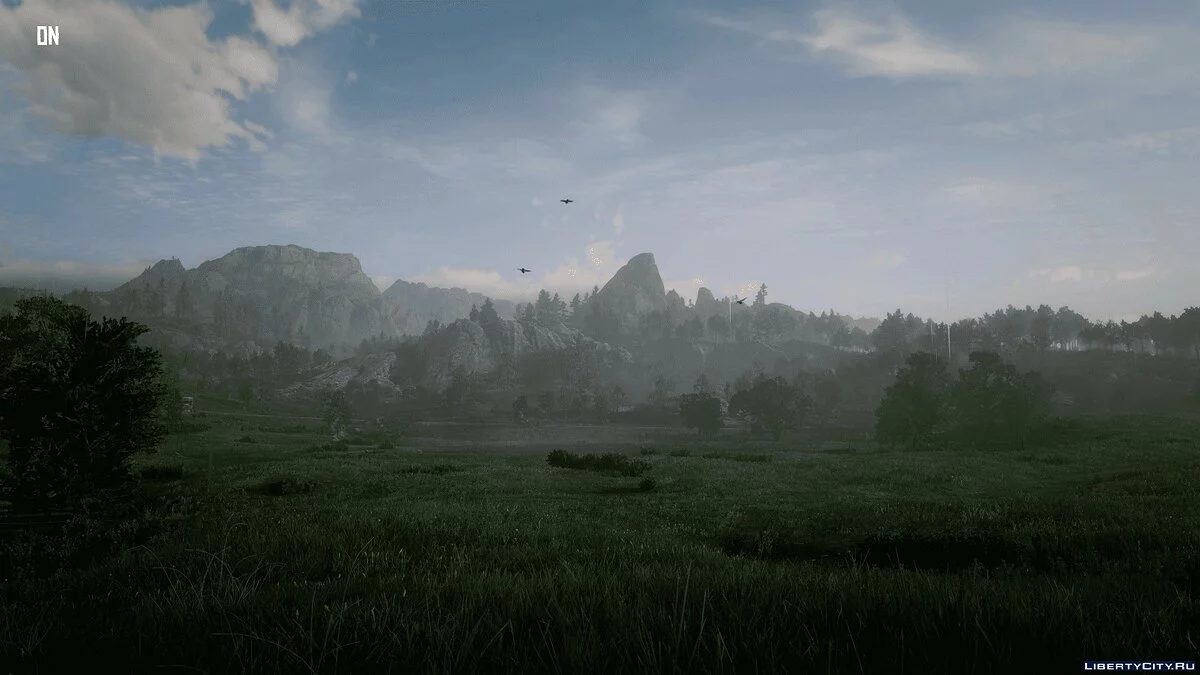
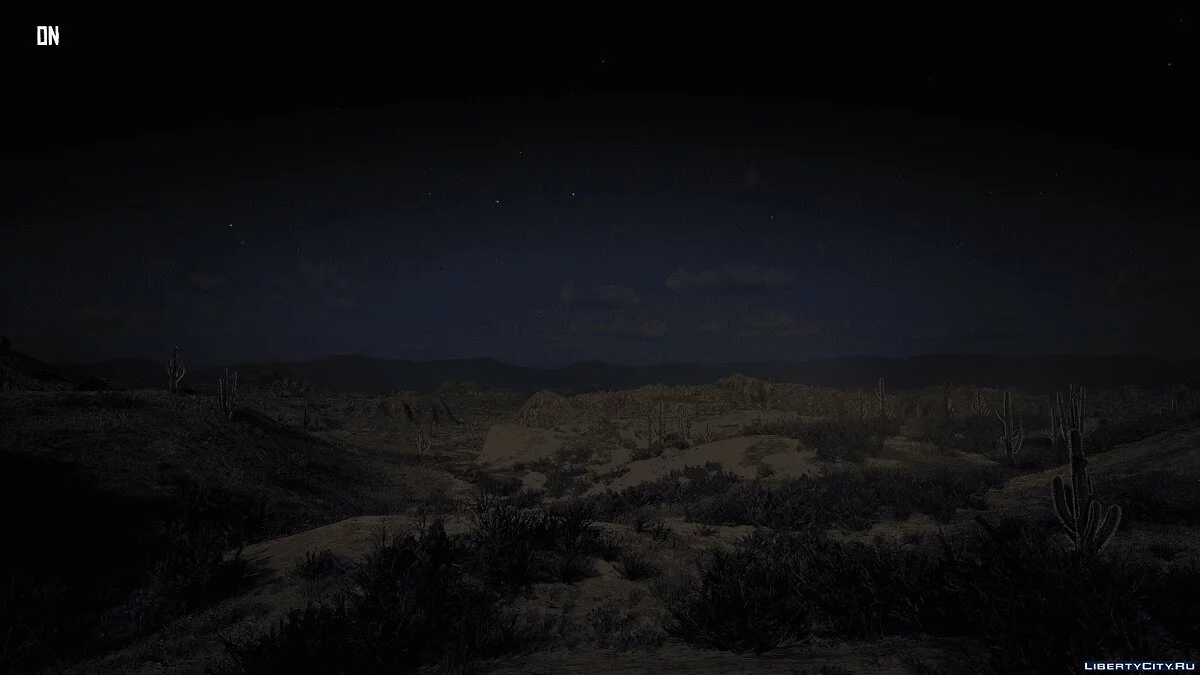
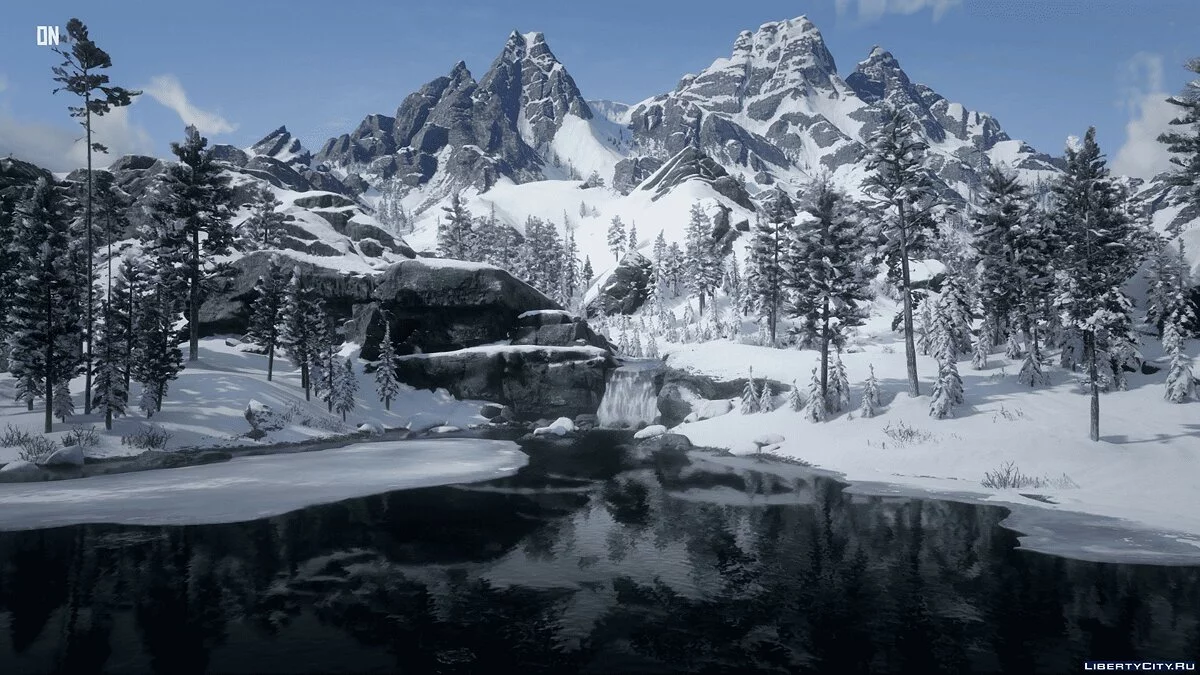
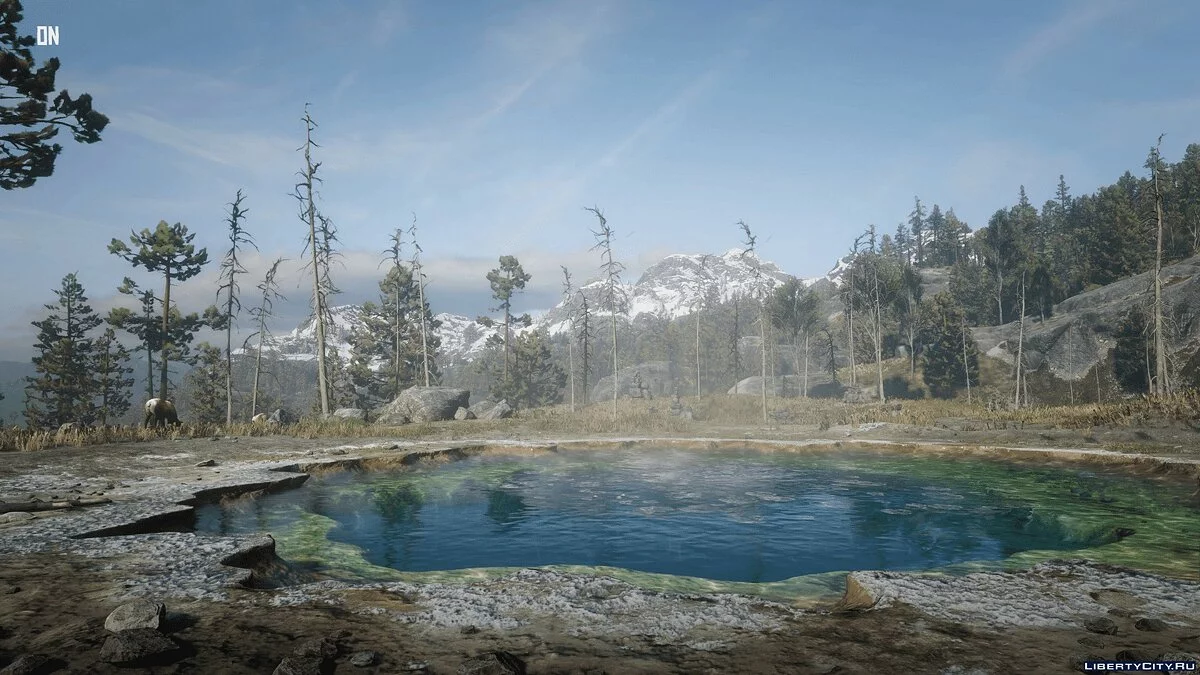

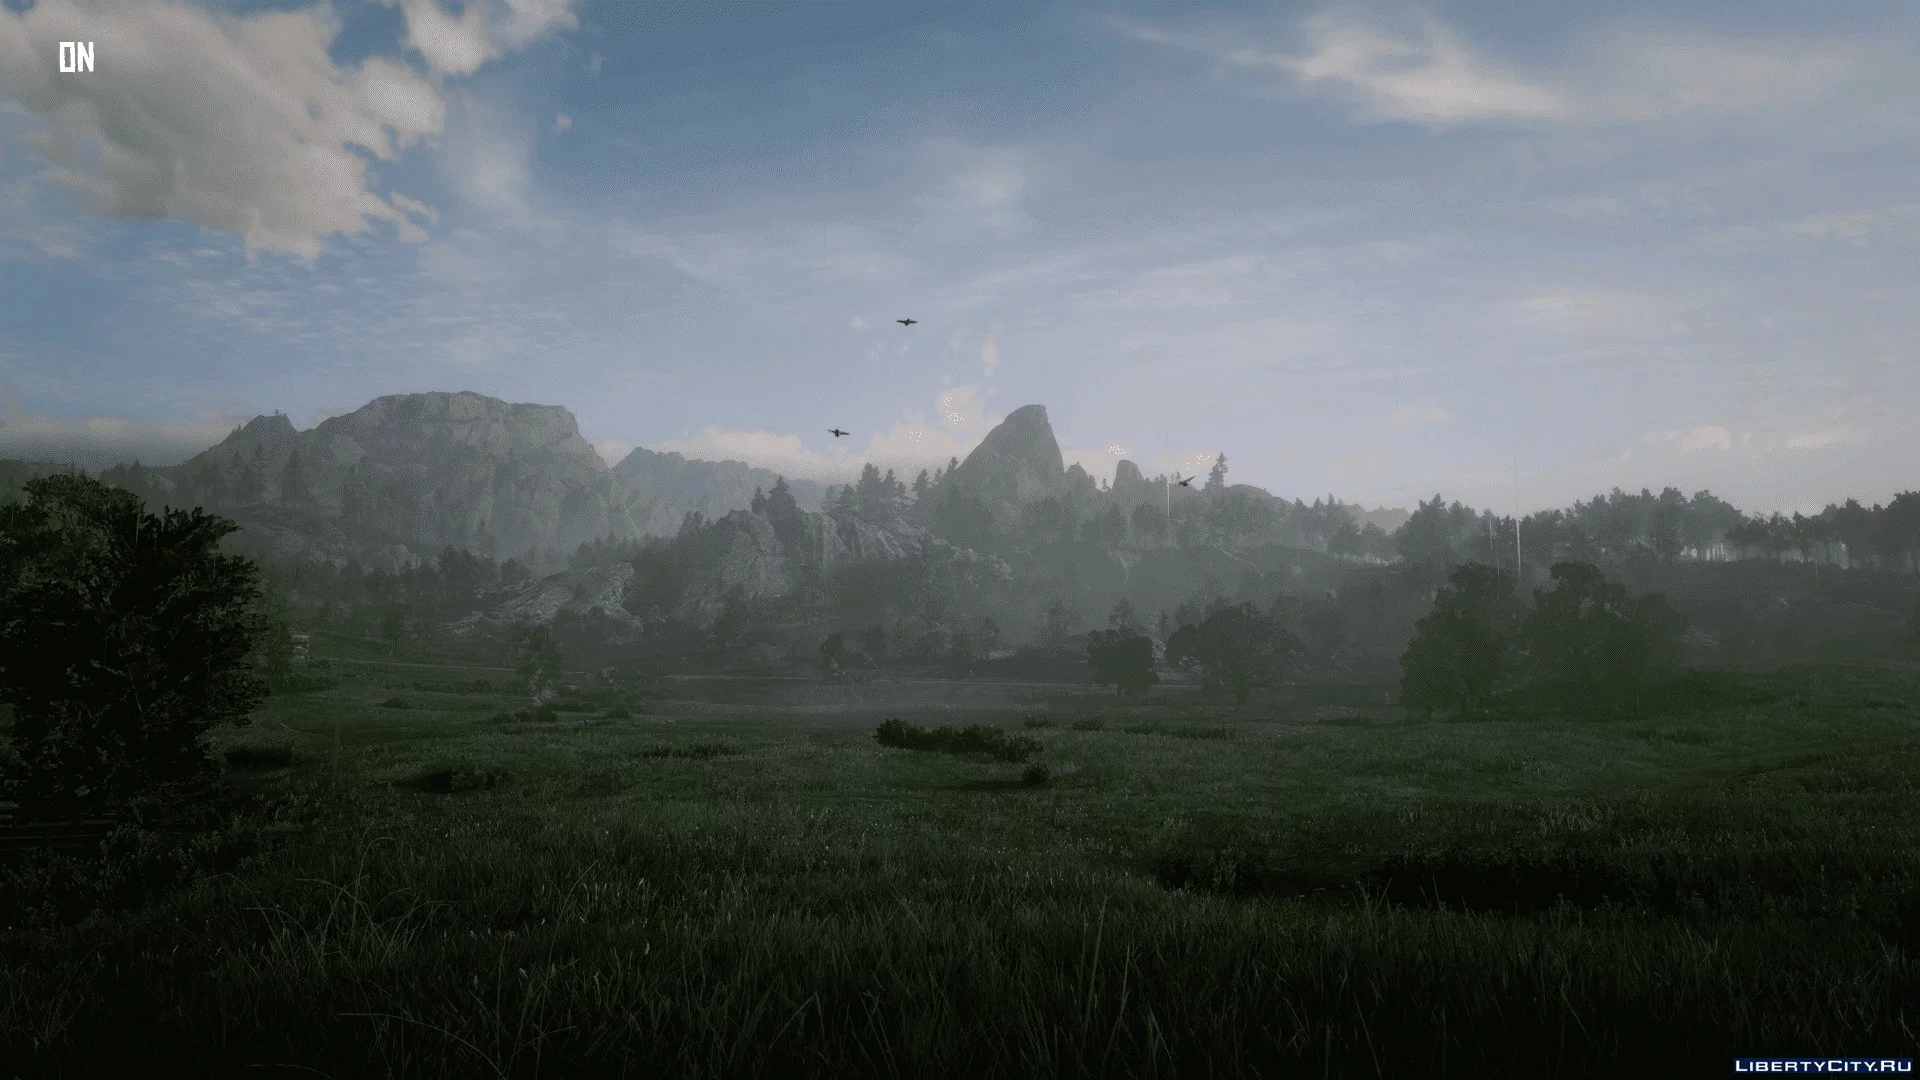
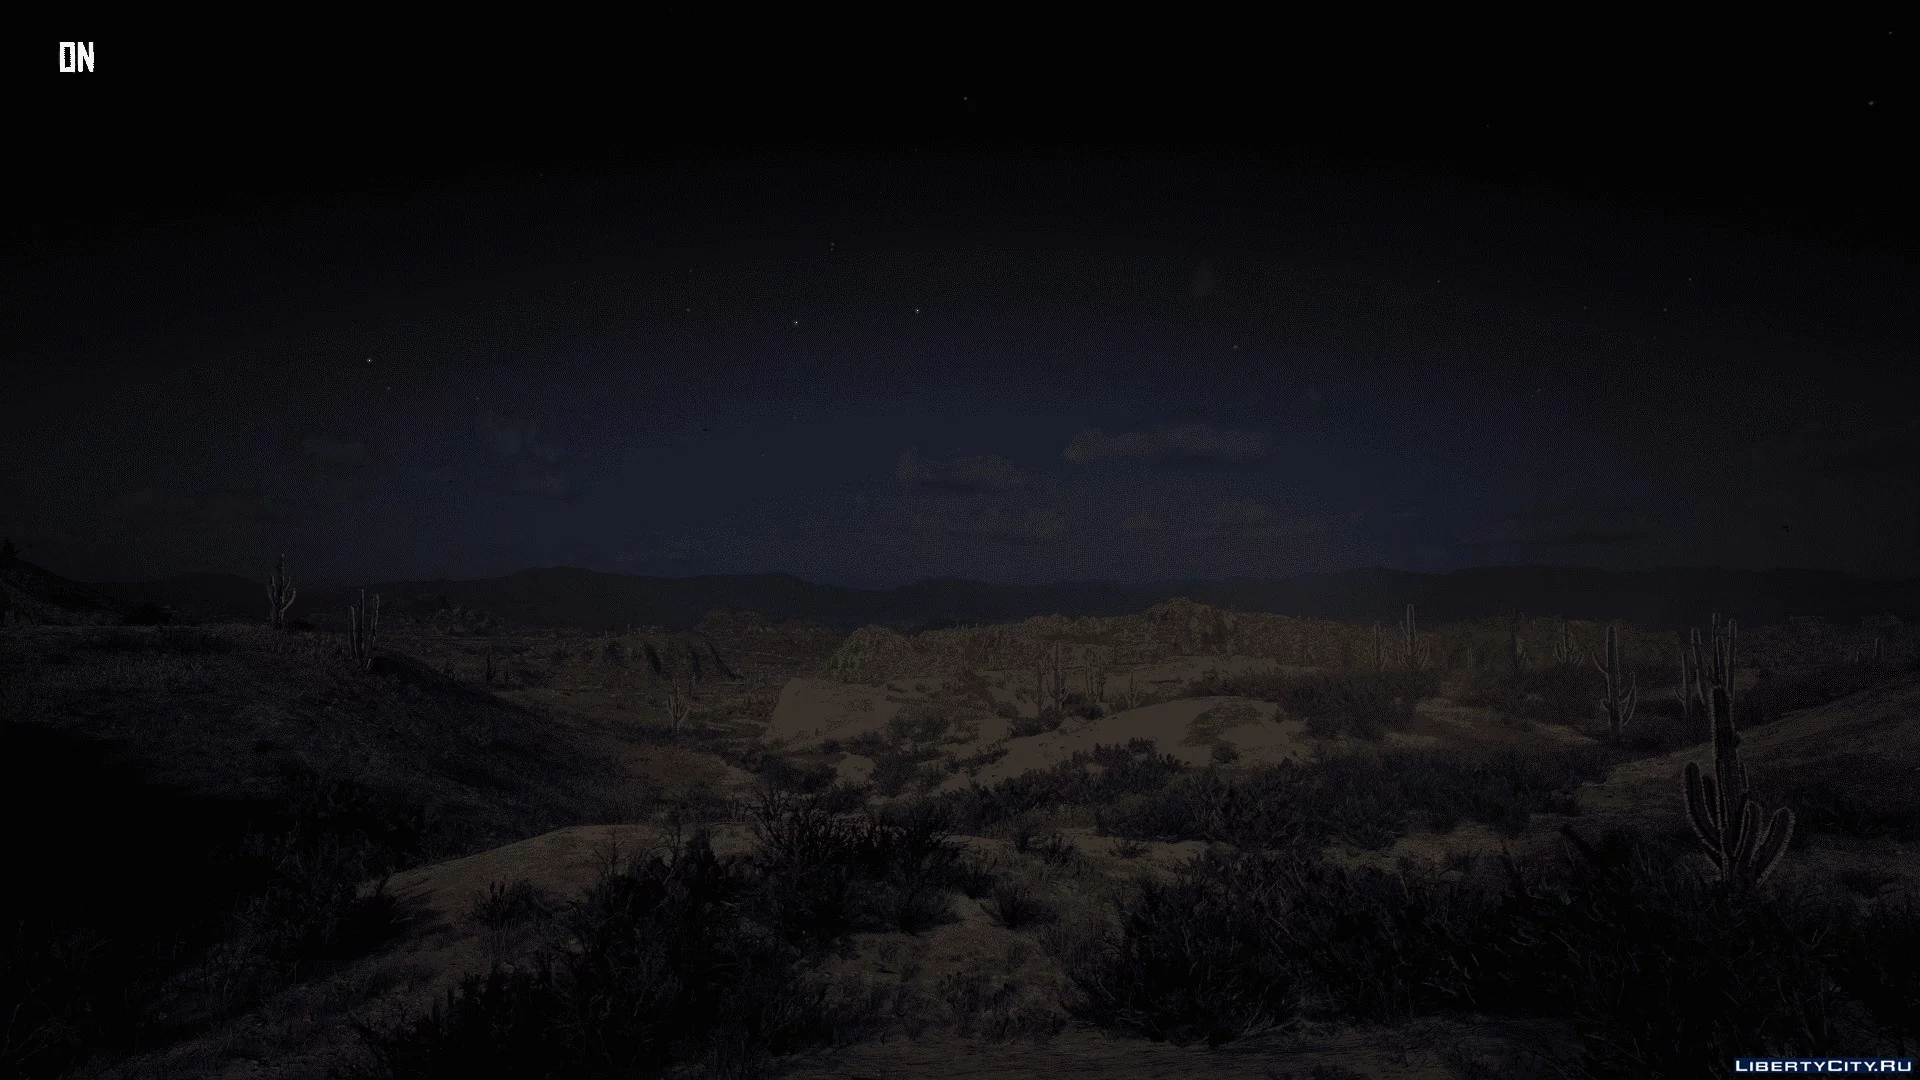
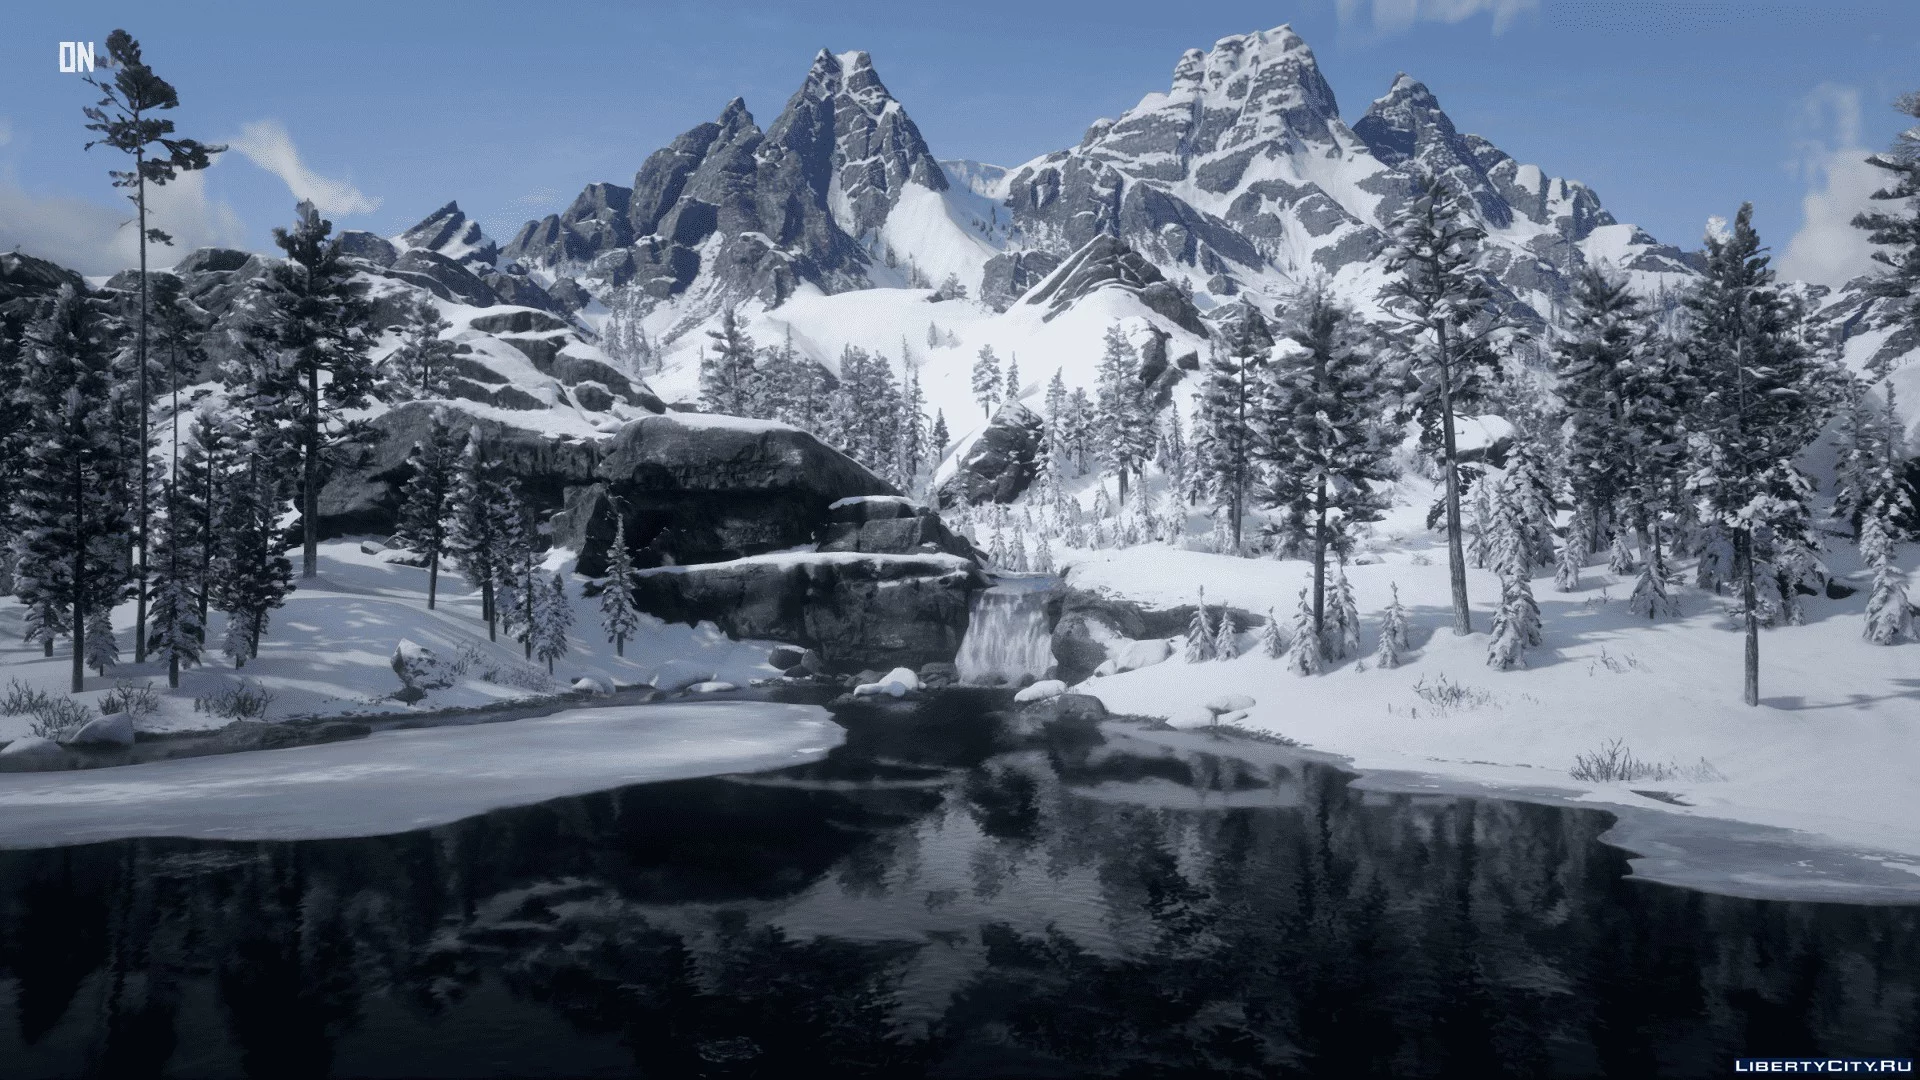
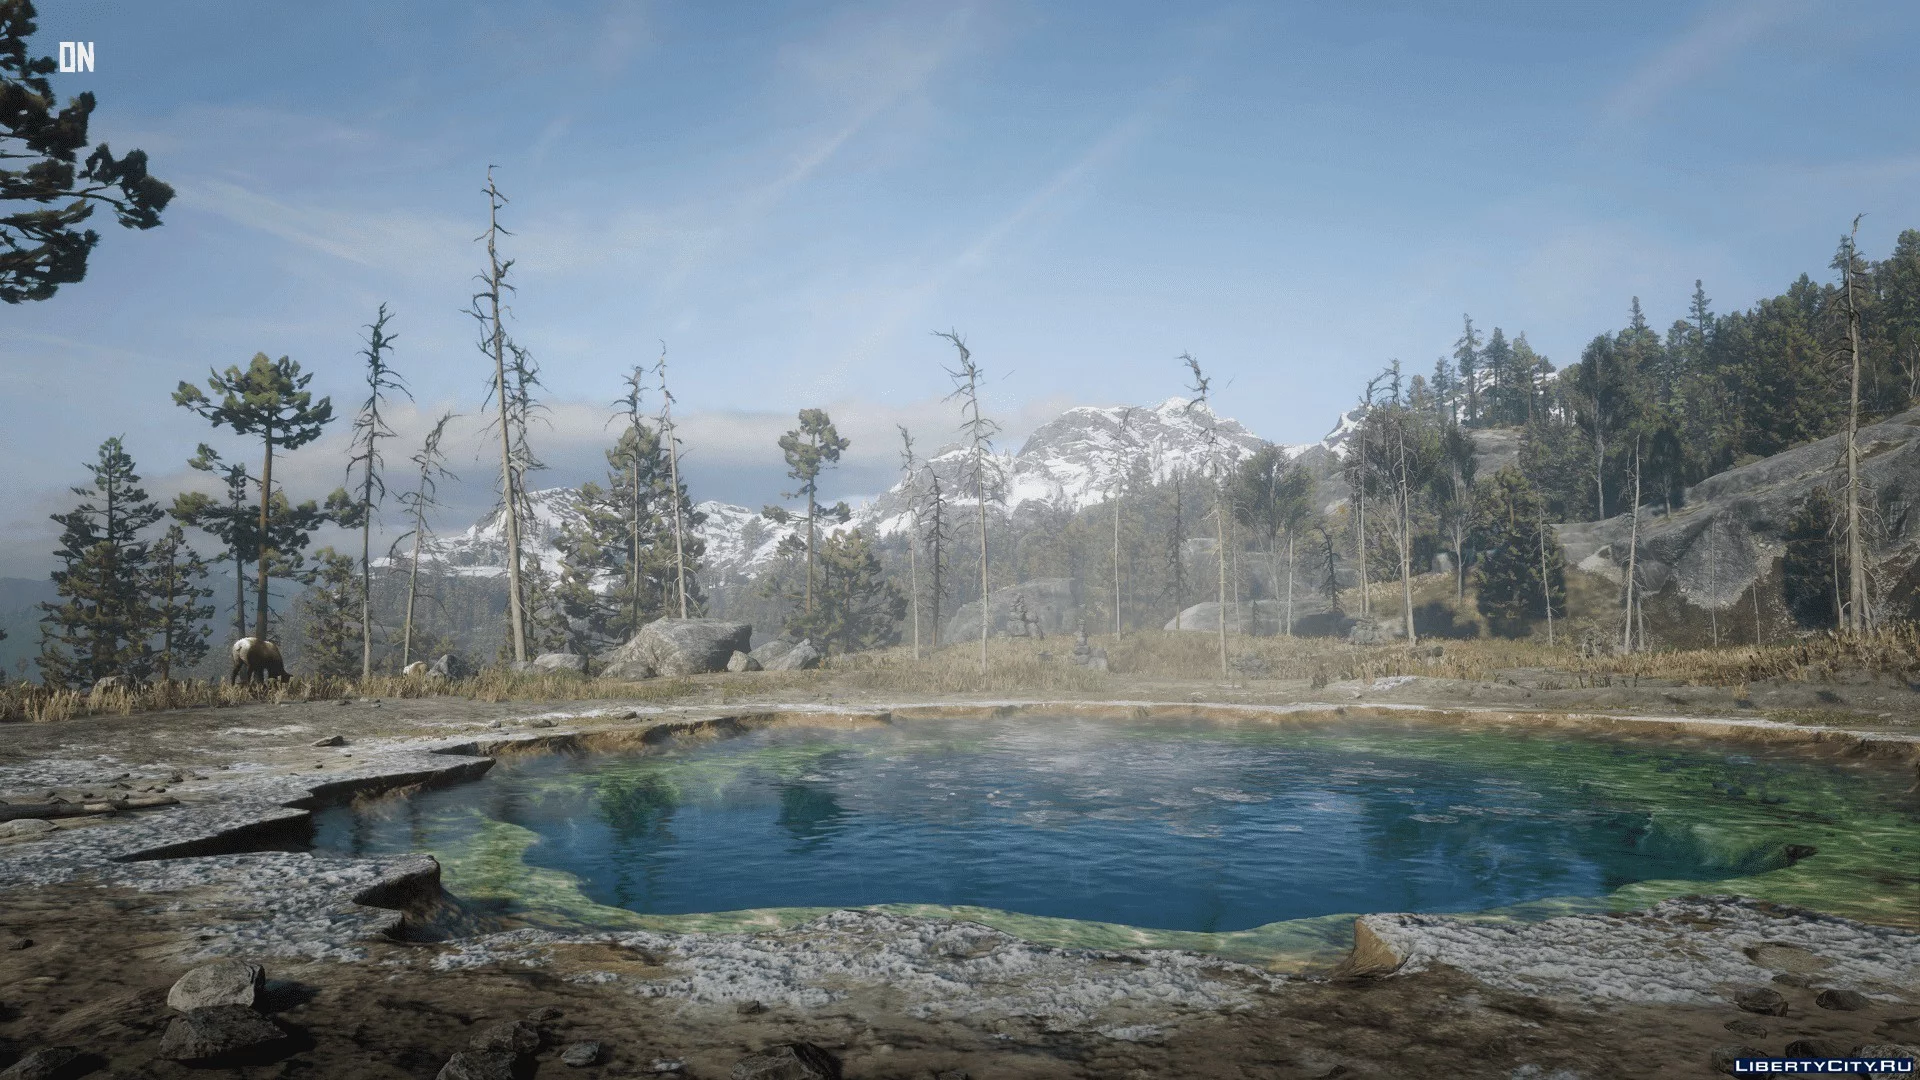
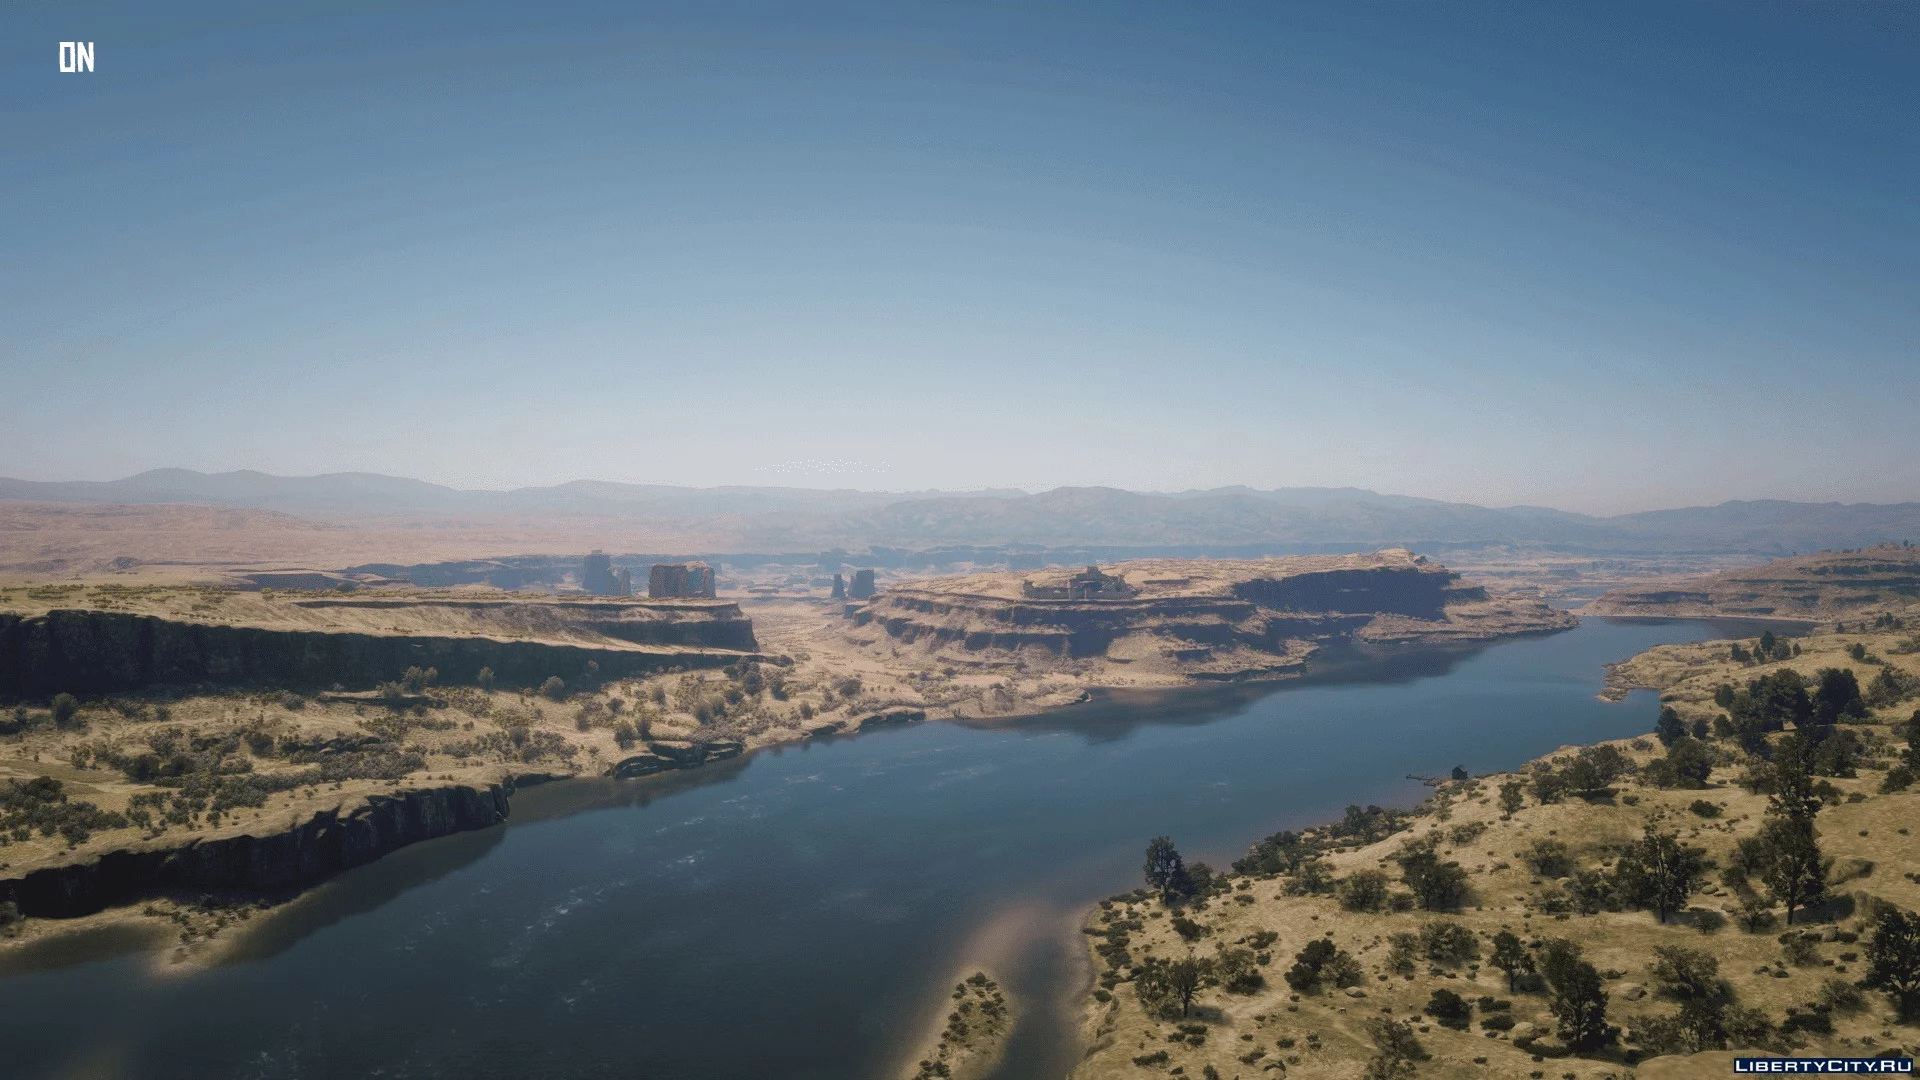


NextVision is a Reshade 4.X configuration designed for any game to enhance lighting and shadows while respecting the original vision of the developers, maintaining the original color palette they created.
NextVision includes:
• Curves
• DPX
• Anamorphic sharpness
• Cinematic pass
• SMAA
Note:
The author has optimized the presets as much as possible since in most games at Full HD, 2K, and 4K, the configuration of some PCs drops by 2–7 FPS, but it depends on the power of each GPU/CPU, which may have some FPS issues.
This preset was made with a Benq VA/HDR monitor, keep in mind that depending on the monitor you are using and the personal settings you have set, the preset may look better or worse.
Installation:
1. Download ReShade
2. Open Reshade Setup.exe, install it by selecting RDR2.exe Red Dead Redemption 2 from the folder where the game is installed, and choose the API "Direct 3D 10/11/12".
3. When ReShade asks if you want to download effects, select "yes" and from the shaders provided for download, choose only those I included in "NextVision", and click OK, do not close the Reshade Setup window.
4. Unzip the preset into the folder where RDR2.exe is located.
5. Go to the Reshade Setup window and click "Edit Reshade Settings", in the next window in the preset options click the "..." button and select my preset (you do not need to do anything in effects, textures, and screenshot path). Also activate the "Performance mode" option, click "OK" and close the "Reshade Setup" window.
6. Open the game and press Home to open the Reshade overlay.
7. Go to the Reshade overlay settings and select a new key to open the overlay, and another key for the effect toggle.
8. Close the overlay and enjoy the game with NextVision.
Removal:
1. Open the folder where RDR2.exe is located
2. Delete the folders "reshade-shaders", "dxgi.dll", "dxgi.ini", "Reshade.ini", and "NextVision.ini"
NextVision — это конфигурация Reshade 4.X, созданная для любой игры с целью улучшения освещения и теней с учетом оригинальной идеи разработчиков, сохраняя оригинальную цветовую палитру, которую они создали.
NextVision содержит:
• Curves
• DPX
• Анаморфная резскость
• Кинематографичный проход
• SMAA
Заметка:
Автор максимально оптимизировал предустановки, поскольку в большинстве игр на Full HD, 2K и 4K конфигурация некоторых ПК падает со скоростью 2–7 FPS, но зависит от мощности каждого графического процессора/процессора, который может иметь некоторые проблемы с FPS.
Этот пресет был сделана с монитором Benq VA/HDR, имейте в виду, что в зависимости от используемого вами монитора и личных настроек, которые вы установили, пресет может казаться лучше или хуже.
Установка:
1. Загрузите ReShade
2. Откройте Reshade Setup.exe, установите его, выбрав RDR2.exe Red Dead Redemption 2 из папки, в которой установлена игра, и выберите API «Direct 3D 10/11/12».
3. Когда ReShade спросит вас, хотите ли вы загрузить эффекты, выберите «да» и из тех шейдеров, которые вам даны для загрузки, выберите только те, которые я поместил в «NextVision», и нажмите OK, не закрывайте окно Reshade Setup.
4. Разархивируйте пресет в папку, где находится RDR2.exe.
5. Перейдите в окно Reshade Setup и нажмите «Edit Reshade Settings», в следующем окне в опции пресета нажмите кнопку «...» и выберите мой пресет (в эффектах, текстурах и пути скриншота вам не нужно делать ничего). Активируйте также опцию «Performance mode», нажмите кнопку «ОК» и закройте окно «Reshade Setup».
6. Откройте игру и нажмите Home, чтобы открыть оверлей Reshade.
7. Зайдите в настройки оверлея Reshade и выберите новую клавишу, чтобы открыть оверлей, и другую клавишу для эффекта переключения.
8. Закройте оверлей и наслаждайтесь игрой с NextVision.
Удаление:
1. Откройте папку, где находится RDR2.exe
2. Удалите папки «reshade-shaders», «dxgi.dll», «dxgi.ini», «Reshade.ini» и «NextVision.ini»